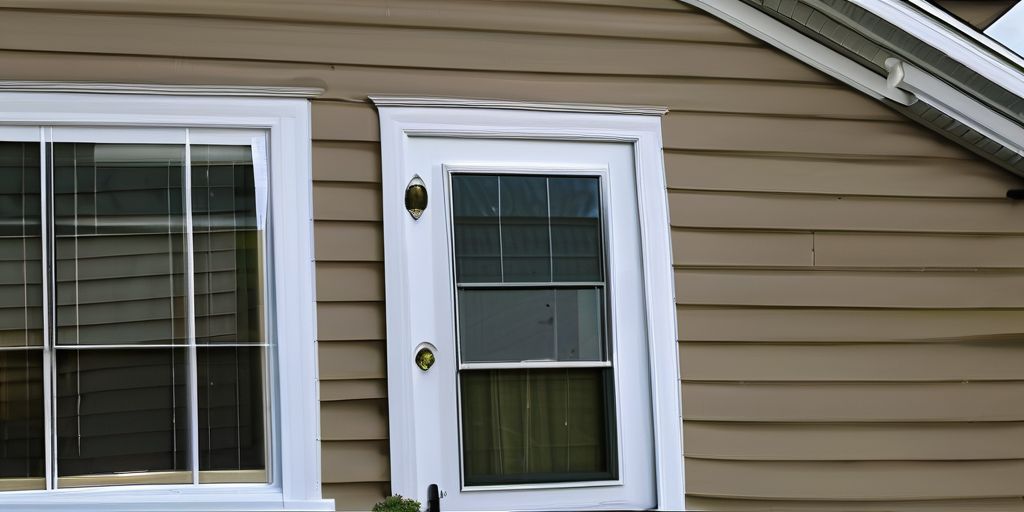
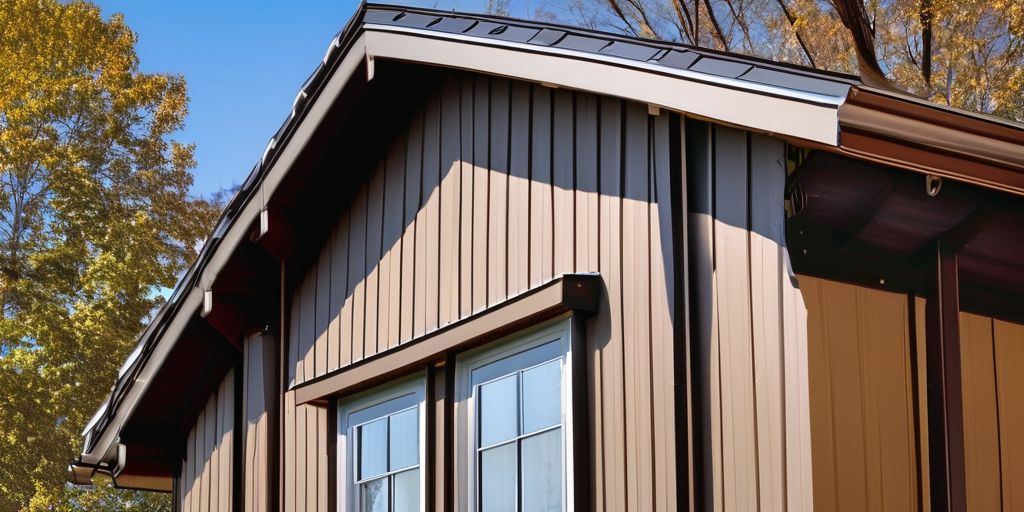
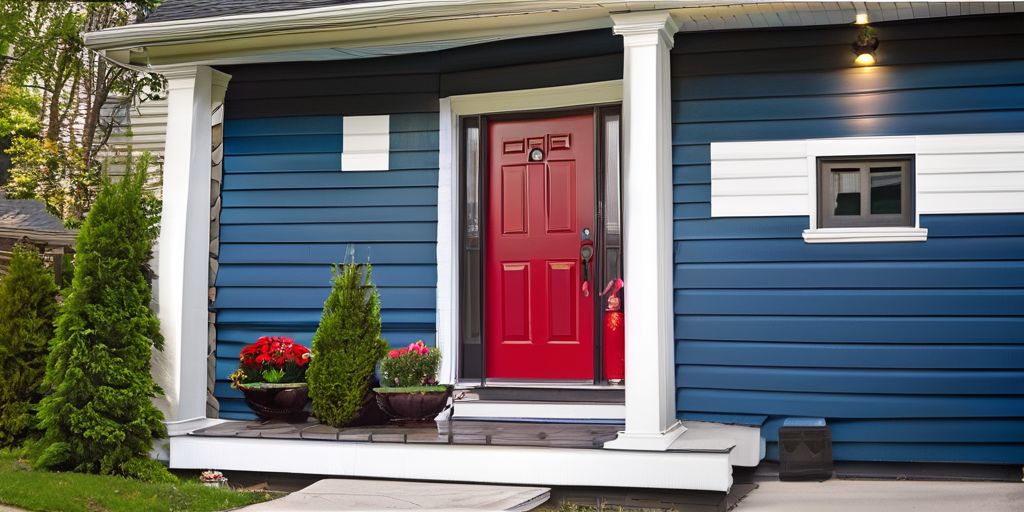
Painting vinyl siding can be a great way to refresh the exterior of your home and give it a new look. It’s important to choose the right paint, prepare the surface properly, and apply the paint correctly to ensure a long-lasting and durable finish. This step-by-step guide will walk you through the process of painting vinyl siding, from choosing the right paint to finishing touches and maintenance.
Key Takeaways
- Choose acrylic paint intended for vinyl siding for best results.
- Clean and repair the siding surface before painting to ensure adhesion and durability.
- Apply primer before painting to improve adhesion and provide a smooth base for the paint.
- Use the right tools and equipment for painting, such as brushes, rollers, or sprayers.
- Apply two coats of paint for durability and a long-lasting finish.
Choosing the Right Paint for Vinyl Siding
Understanding the Different Types of Paint
When it comes to painting vinyl siding, the type of paint you choose is crucial for both the appearance and longevity of your project. Here’s what you need to consider:
- Acrylic paints are highly recommended for vinyl siding due to their flexibility and ability to expand and contract with the siding. This quality is essential to prevent cracking and peeling.
- Latex Urethane paint is another excellent option, offering strong adhesion and durability.
It’s important to select a paint that is specifically formulated for exterior use and capable of withstanding the elements. Look for paints labeled as "vinyl-safe" to ensure they won’t warp or buckle the siding due to heat absorption.
Tip: Always choose a paint with a light reflectance value (LRV) higher than the vinyl siding manufacturer’s recommendation to avoid heat-related damage.
Remember, investing in high-quality paint can save you time and money in the long run by reducing the need for frequent touch-ups or complete repaints.
Considering the Climate and Weather Conditions
When selecting paint for your vinyl siding, it’s crucial to consider the local climate and weather patterns. Here’s why:
- Temperature fluctuations can cause vinyl to expand and contract, so you need paint that can handle these changes without cracking or peeling.
- High humidity areas require paint with excellent mildew resistance to prevent unsightly growths.
- In regions with intense sunlight, opt for paint with UV protection to prevent fading and maintain the vibrancy of your color choice.
Tip: Always check the paint’s label for its weather-resistant properties to ensure it’s suited for your environment.
Remember, the longevity of your paint job is significantly influenced by the weather conditions it will face. Choose wisely to avoid frequent touch-ups and ensure lasting beauty for your home’s exterior.
Selecting the Best Color for Your Home
When it comes to selecting the best color for your home’s vinyl siding, there are a few key considerations to keep in mind. The color you choose will not only enhance the overall appearance of your home but also complement the surrounding environment. Here are some important factors to consider:
-
Climate and Weather Conditions: The climate in your area plays a significant role in determining the ideal color for your vinyl siding. Subtle shades may be more suitable for warmer climates, while darker tones can provide better insulation in colder regions.
-
Architectural Style: The architectural style of your home can influence the color choices. Traditional homes often look stunning in classic, neutral tones, while modern designs may benefit from bold and vibrant colors that make a statement.
-
Neighborhood Aesthetics: Take a look at the color schemes of neighboring houses to ensure your choice harmonizes with the overall character of the neighborhood. Subtle adjustments to your color selection can create a cohesive and visually appealing community.
For additional insights, consider consulting with professionals or utilizing digital tools for color matching. Remember, the right color can transform your home’s exterior and create a welcoming and visually appealing atmosphere.
Preparing the Vinyl Siding Surface
Cleaning and Removing Dirt and Debris
Before applying primer to the vinyl siding, it’s crucial to ensure that the surface is thoroughly clean and free of any dirt, debris, or mildew. Use a gentle cleaning solution and a soft-bristle brush to scrub the siding, working from the bottom up to prevent streaking. Rinse the siding with a garden hose and allow it to dry completely before proceeding with the next steps. This step is essential for promoting proper adhesion and achieving a smooth, long-lasting finish. Remember to inspect the siding for any remaining dirt or stains before moving on to the next phase of the painting process.
Repairing Any Damaged Areas
Before applying a fresh coat of paint, it’s crucial to address any damage on your vinyl siding to ensure a smooth and lasting finish. Here’s a step-by-step guide to repairing damaged areas:
- Clean the Damaged Area: Begin by cleaning the area with warm soapy water and a microfiber cloth to remove dirt and debris, creating a clean surface for repairs.
- Cut Out Damaged Siding: Use a utility knife to carefully cut out the damaged siding, avoiding further damage to the building paper underneath.
- Prepare a Patch: Measure the damaged area and cut a replacement patch from new siding, making sure it extends about two inches beyond the damaged section on each side.
- Apply the Patch: Secure the patch in place, ensuring it fits snugly and blends with the surrounding siding.
Tip: If the repair is in a highly visible area, consider using a piece of siding from a less visible part of your home for a more consistent look. Then, place the new siding in the less conspicuous area.
By taking the time to properly repair any damage, you’re setting the stage for a paint job that not only looks great but also stands the test of time.
Applying Primer for Better Adhesion
Before you dive into painting, applying a primer is a critical step to ensure your paint adheres well to the vinyl siding. Here’s how to get the best results:
- Choose the right primer: An oil-based primer offers robust protection against the elements. Acrylic primers are also suitable. However, steer clear of latex primers to avoid chipping caused by ammonia-induced gas bubbles.
- Apply thin coats: It’s better to apply two to three thin coats rather than one thick coat. Thin layers help prevent drips and ensure a smooth finish.
- Dry time: Allow each coat to dry thoroughly before applying the next. This patience pays off in the long run with a more durable finish.
- Consistent direction: Apply primer in a uniform direction, either left to right or right to left, to avoid uneven lines.
- Weather watch: Avoid priming on rainy or moist days, and don’t prime if the temperature is below 50 degrees Fahrenheit to prevent improper drying.
Tip: Always work in manageable sections and maintain a wet edge to avoid lap marks. This technique will give you a professional-looking result.
Remember, a well-primed surface not only helps paint adhere better but also extends the life of your paint job. Take your time with this step, and you’ll be rewarded with a beautiful, long-lasting finish.
Applying Paint to Vinyl Siding
Using the Right Tools and Equipment
Having the correct tools and equipment is crucial for a successful vinyl siding paint job. Start by gathering all the necessary items to ensure a smooth and efficient painting process.
- Paint sprayer: For a uniform and quick application, a paint sprayer is highly recommended. It’s especially useful for covering large areas.
- Paintbrushes and rollers: For edges and smaller sections, a combination of brushes and rollers will give you the precision needed.
- Drop cloths: Protect landscaping and nearby surfaces from paint splatters.
- Painter’s tape: Use this to cover and protect windows, doors, and trim.
- Safety gear: Don’t forget to wear protective gloves and safety glasses to prevent any injuries.
Tip: Always test your paint sprayer on a small, inconspicuous area of the siding to adjust the spray pattern and ensure even coverage before starting on the main sections.
Applying the First Coat of Paint
After laying on the first coat of paint, it’s important to ensure proper coverage and smooth application. Use your brush to spread the paint evenly over the surface and finish up with long, continuous brush strokes. The goal is to completely cover the previous layer of paint or primer with a smooth, even layer of paint. This step must be done immediately after the paint is laid on and before it starts to dry. There’s no exact formula for determining if you’re applying enough paint, but in general, two thin coats are more effective than struggling to cover the primer with one.
To check if the painted area feels dry instead of sticky, you can determine if the siding is ready for a second coat. If any visible bumps are present, gently sand them out before moving on to the second coat. If any paint is removed during the sanding process, add a dab of primer that can be covered with paint once the area is dry. The second coat of paint not only adds to the overall beauty and durability of the siding but also conceals any stroke lines that were created when the first coat was applied.
Tip: Two thin coats of paint are more effective than struggling to cover the primer with one.
Applying the Second Coat for Durability
After the first coat of paint has dried, it’s time to apply the second coat for added durability and a flawless finish. Here are the steps to follow:
- Check for visible bumps and gently sand them out before applying the second coat.
- If any paint is removed during sanding, add a dab of primer and cover it with paint once the area is dry.
- Begin applying the second coat of paint to enhance the overall beauty and durability of your siding.
Remember to confirm that the painted area feels dry instead of sticky before applying the second coat. Additionally, for best results, apply the second coat at temperatures between 50 – 90°F, avoiding direct sun and heavy traffic for 24 hours. Allow two weeks before washing or cleaning for full cure. Shelf life under normal conditions is two years unopened, so protect from freezing.
Tip: The second coat provides an opportunity to conceal any stroke lines that were created when the first coat was applied, resulting in a smoother and more polished finish.
Finishing Touches and Maintenance
Adding Accents and Trim
Once your vinyl siding has been painted, adding accents and trim can truly make your home’s exterior pop. Here’s how to approach this final, creative step:
- Choose your accent colors carefully to complement the main siding color. This can include colors for shutters, doors, and trim work.
- Measure and tape off the areas where the accents and trims will go to ensure clean lines and professional-looking results.
- When painting trim, use a smaller brush or a painter’s tape for precision to avoid paint on the newly painted siding.
- Consider the use of glossy finishes on trims to add a subtle shine and highlight these features.
Remember, the key to beautiful accents and trims is in the details. Take your time and be meticulous with your work to achieve the best finish.
After you’ve applied the accents and trims, step back and admire your handiwork. With the right color choices and careful application, these details can add character and curb appeal to your home.
Maintaining the Painted Vinyl Siding
Once your vinyl siding is beautifully painted, maintaining its appearance is key to ensuring it stays vibrant and protected for years to come. Here are some simple steps to keep your siding looking its best:
- Regular Cleaning: Gently wash your siding with a soft cloth or brush and a mild soap solution to remove any dirt or grime. Rinse thoroughly with water.
- Inspection: At least twice a year, inspect your siding for any signs of wear or damage. Promptly address any issues to prevent further deterioration.
- Touch-Ups: If you notice small areas where the paint has chipped or peeled, touch up these spots with the same paint used for the initial application.
Tip: Avoid using harsh chemicals or abrasive cleaning tools, as they can damage the paint and siding material.
By following these maintenance tips, you can extend the life of your paint job and keep your vinyl siding looking fresh and new. Remember, the longevity of the paint will also depend on the quality of the paint used, so always opt for high-quality acrylic paint designed for vinyl surfaces.
When it comes to giving your vinyl siding the finishing touches and maintenance it needs, look no further. At "We Paint Vinyl Siding Every Day", we specialize in reviving old vinyl siding and bringing it back to life. Our expertise in painting vinyl siding ensures that your home looks fresh and vibrant for years to come. Whether you’re considering painting or replacing your siding, we have the right solutions for you. Discover the best way to paint vinyl siding and make informed decisions about your home’s exterior. Visit us today and let’s transform your home together!
Conclusion
In conclusion, painting vinyl siding is a budget-friendly way to give your home a fresh new look. With the right preparation and materials, you can transform the appearance of your exterior. Remember to use acrylic paint intended for vinyl siding to ensure a long-lasting finish. Consultation with restoration specialists can provide valuable guidance for achieving the perfect match. Happy painting!
Frequently Asked Questions
Can I paint vinyl siding?
Yes, you can paint vinyl siding using acrylic paint that is specifically designed for vinyl to avoid peeling issues.
What type of paint should I use for aluminum siding?
It is recommended to use an all-season, exterior-grade acrylic paint for aluminum siding due to its durability and fade resistance.
How long does it take for paint to dry on vinyl siding?
Paint on vinyl siding generally takes two to four hours to dry, but specific instructions on drying times should be followed from the paint manufacturer.
Can I paint over existing paint on vinyl siding?
Yes, you can paint over existing paint on vinyl siding after proper cleaning and preparation.
What tools can I use to apply paint on vinyl siding?
Brushes, rollers, and sprayers can all be used to apply paint on vinyl siding, but it’s important to choose the method in advance.
How do I repair damaged vinyl siding before painting?
To repair damaged vinyl siding, you can replace the damaged panels, fill in cracks with caulk, and sand any rough areas before painting.


