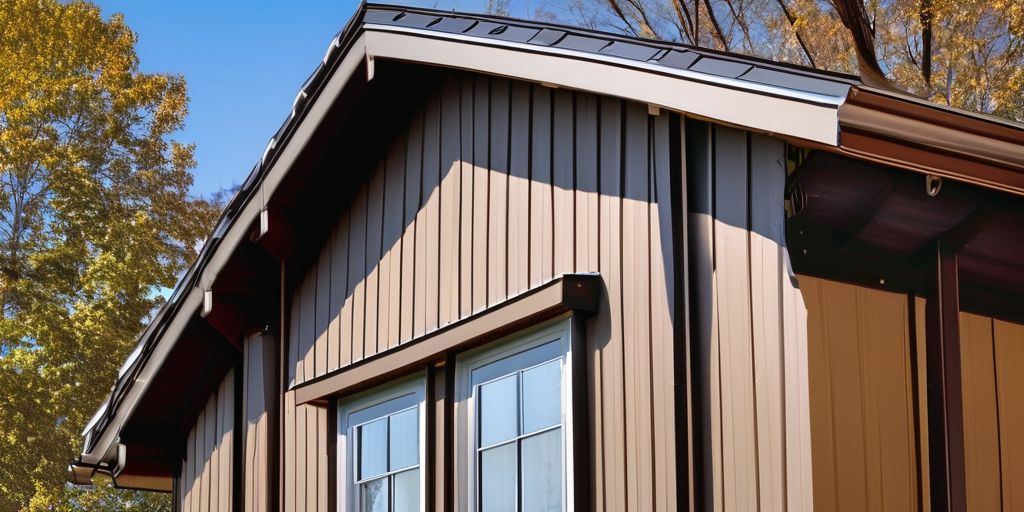
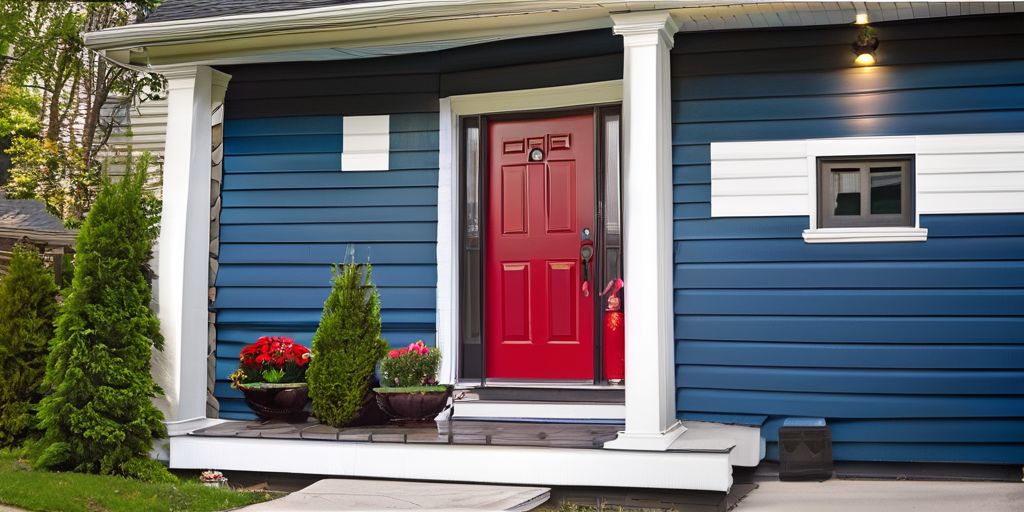
Vinyl siding transformation can completely change the look and feel of your home, giving it a fresh and updated appearance. In this article, we will explore the magic of vinyl siding transformation, the painting process, and key takeaways to consider when painting vinyl siding. Whether you’re looking to refresh the exterior of your home or add depth and texture to your vinyl siding, these key takeaways will guide you through the process.
Key Takeaways
-
Choose high-quality paint for long-lasting results
-
Properly prepare the vinyl siding surface before painting
-
Consider using a primer for better adhesion
-
Apply multiple thin coats of paint for a smooth finish
-
Regular maintenance can prolong the life of the painted vinyl siding
The Magic of Vinyl Siding Transformation
Understanding the Potential of Vinyl Siding
Vinyl siding is not just a practical choice for homeowners; it’s a canvas for transformation. With its versatility and ease of maintenance, vinyl siding presents a unique opportunity to refresh the look of your home without the high costs and intensive labor associated with other materials. Here’s why vinyl siding is a game-changer for home exteriors:
-
Durability: Resistant to the elements, vinyl siding stands up to weather and wear over time.
-
Low Maintenance: Forget about scraping and painting. Vinyl siding is easy to clean and requires minimal upkeep.
-
Aesthetic Variety: From traditional lap siding to shingles and shakes, vinyl offers a range of styles to suit any home.
-
Energy Efficiency: Insulated vinyl siding can help reduce energy bills by keeping your home warmer in the winter and cooler in the summer.
Tip: When considering vinyl siding, think about the long-term benefits. Not only does it look great, but it also contributes to the overall energy efficiency and durability of your home.
Whether you’re building a new home or renovating an existing one, understanding the potential of vinyl siding is the first step towards a stunning transformation. It’s a cost-effective way to achieve the warm aesthetics of wood and the resilience of more modern materials, all while providing a fresh, updated look for your home.
Choosing the Right Paint for Vinyl Siding
Selecting the ideal paint for your vinyl siding is crucial for both aesthetics and longevity. Here’s what to consider:
-
Acrylic paints are highly recommended due to their flexibility and ability to expand and contract with the vinyl, preventing cracks and peels.
-
Opt for a paint with a light reflectance value (LRV) higher than the vinyl to avoid warping from heat absorption.
-
A paint with UV inhibitors will help maintain the color’s vibrancy against sun exposure.
Always test your paint choice on a small, inconspicuous area of the siding to ensure the color and finish meet your expectations.
Remember, the right paint not only enhances the visual appeal but also serves as a protective layer, shielding your home from the elements. It’s an investment in both the beauty and the resilience of your property.
Prepping Your Vinyl Siding for Painting
Once you’ve chosen the best exterior paint colors and gathered your supplies, it’s time to focus on the crucial step of preparation. Pressure washing is the cornerstone of pre-painting prep work. This process ensures that your siding is free from dirt, debris, and any other substances that could hinder paint adhesion.
-
Pressure wash your house to remove grime, insect nests, and other debris.
-
Repair any damages such as rotten wood or rusty nails.
-
Fill nail holes and caulk gaps to ensure a smooth surface.
-
Sand the siding lightly to create an optimal surface for the paint to grip.
Remember, a thorough prep job is the key to a lasting paint job. Don’t rush this step; taking the time to do it right will pay off in the long run with a beautiful and durable finish.
The Painting Process
Applying the First Coat of Paint
Once your vinyl siding is squeaky clean and all prepped up, it’s time to embark on the exciting journey of transformation. Applying the first coat of paint is a pivotal moment in the makeover of your home’s exterior. Here’s how to ensure a smooth start:
-
Mix your paint thoroughly to achieve a consistent color throughout.
-
Start from the top and work your way down to prevent drips on freshly painted areas.
-
Use a high-quality brush or roller designed for exterior surfaces.
-
Apply paint evenly and avoid overloading the brush to prevent runs.
Remember, patience is key. The first coat is about laying the foundation for a stunning finish, so take your time to cover every nook and cranny. It’s not just about aesthetics; a well-applied first coat provides better adhesion for subsequent layers.
Tip: Always keep a wet edge to avoid lap marks and ensure a professional-looking result.
After the first coat, give your siding ample time to dry before assessing if a second coat is necessary. This waiting period is crucial as it allows the paint to cure properly, ensuring durability and longevity of your paint job.
Adding Depth and Texture with the Second Coat
After applying the first coat of paint, it’s time to enhance the texture and depth of the vinyl siding with the second coat. This coat is where you can really bring out the character of your siding and achieve a professional finish. Here’s a quick overview of the process:
-
Use a high-quality paint roller to apply the second coat evenly
-
Consider adding a subtle texture by using a sponge or rag
-
Pay attention to areas that may need extra coverage or touch-ups
For best results, take your time and ensure thorough coverage with the second coat. This is the stage where the true transformation of your vinyl siding takes place, so enjoy the process and admire the results as they unfold.
Finishing Touches and Cleanup
With the second coat dry and your home’s exterior looking refreshed, it’s time to focus on the finishing touches and cleanup. This final stage is crucial in ensuring your vinyl siding transformation is complete and professional-looking.
Start by carefully removing any painter’s tape from edges and trim. This should be done slowly to avoid peeling off any fresh paint. Next, reinstall any fixtures or hardware that were removed prior to painting. These elements, like lighting fixtures and doorknobs, can truly accentuate the new look of your home.
Cleanup is just as important as the painting process itself. Ensure all painting supplies are cleaned and stored properly. Leftover paint can be sealed and saved for touch-ups, while brushes and rollers need to be thoroughly washed for future use.
Tip: Always check the weather forecast before beginning your painting project. Ideal conditions mean your hard work will last longer and look better!
Finally, take a step back and admire your handiwork. The transformation is not just about the color change; it’s about the pride and satisfaction of completing a home improvement project that enhances curb appeal and protects your investment.
The painting process is a crucial step in reviving the look of your vinyl siding. Whether you’re considering painting or replacing your siding, it’s important to understand the factors that come into play. At We Paint Vinyl Siding Every Day, we specialize in the art of transforming old vinyl siding into a fresh, vibrant look. Our expertise and attention to detail ensure that your siding is revitalized with precision and care. If you’re ready to breathe new life into your home’s exterior, contact us today for a consultation!
Conclusion
In conclusion, the transformation of the vinyl siding through painting has revealed the remarkable impact of a simple yet powerful change. The brighter and updated appearance of the house is a testament to the effectiveness of this makeover. The before and after photos speak volumes, showcasing the dashing results of the exterior makeover. This article has shed light on the potential of painting vinyl siding to enhance curb appeal and breathe new life into a home’s exterior. We hope this inspires you to consider the transformative power of paint for your own home renovation projects.
Frequently Asked Questions
How long does it take to paint vinyl siding?
The time it takes to paint vinyl siding depends on factors such as the size of the house, the condition of the siding, and the number of coats needed. On average, it can take anywhere from 3 to 5 days to complete the painting process.
Can I paint vinyl siding myself or should I hire a professional?
While it is possible to paint vinyl siding yourself, hiring a professional can ensure a high-quality and long-lasting finish. Professionals have the expertise and tools to properly prepare and paint vinyl siding.
What type of paint should I use for vinyl siding?
It is important to use a high-quality exterior acrylic latex paint specifically designed for vinyl siding. This type of paint provides durability, flexibility, and resistance to fading and peeling.
Do I need to clean the vinyl siding before painting?
Yes, it is essential to thoroughly clean the vinyl siding before painting to remove dirt, grime, and any mildew. This helps the paint adhere better and ensures a smooth finish.
Can I change the color of my vinyl siding with paint?
Yes, painting vinyl siding allows you to change the color of your home’s exterior. However, it is important to choose a paint color that complements the overall aesthetic of your property.
How long will the painted vinyl siding last?
When properly applied, high-quality paint on vinyl siding can last for 10-15 years or more. Regular maintenance and cleaning can also extend the lifespan of the painted siding.


