Choosing the right colors for your vinyl siding and trim can make a big difference in how your home looks. In Guelph, it’s important to pick colors that match well with the surroundings and your home’s style. This guide will help you understand how to choose and apply the best colors for your vinyl siding and trim.
Key Takeaways
- Vinyl siding is a popular choice because it is durable and low-maintenance.
- Choosing the right color combination can enhance your home’s curb appeal.
- Proper surface preparation is crucial for a long-lasting paint job.
- Using high-quality paint products ensures a better finish and durability.
- Hiring a professional painter can save time and ensure a high-quality result.
Understanding the Basics of Vinyl Siding and Trim
What is Vinyl Siding?
Vinyl siding is a popular choice for home exteriors, made from PVC (polyvinyl chloride) plastic resin. It is known for its durability and low maintenance. Homeowners often choose vinyl siding because it is available in many colors and designs, making it easy to match with any home style.
Benefits of Vinyl Siding
Vinyl siding offers several advantages:
- Durability: It won’t rot, bend, or fade.
- Low Maintenance: Requires minimal upkeep compared to other materials.
- Weather Resistant: Can withstand extreme weather conditions.
- Energy Efficient: Helps reduce energy bills.
- Fire and Insect Resistant: Adds an extra layer of protection to your home.
Common Types of Trim for Vinyl Siding
When it comes to trim, there are a few common types that pair well with vinyl siding:
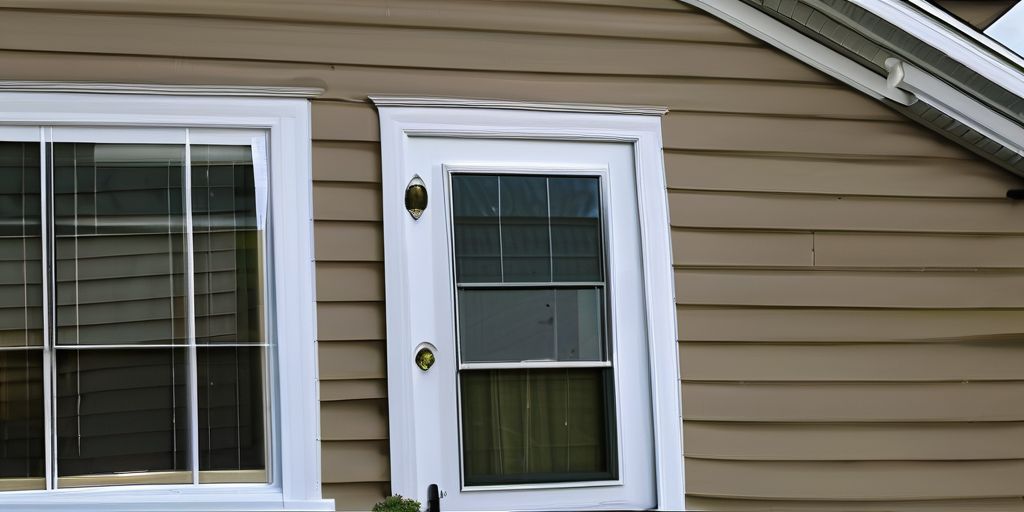
- J-Channel: Used around windows and doors to hide the ends of siding panels.
- Corner Trim: Installed on the exterior corners of the house to give a finished look.
- Starter Strip: The first piece installed at the bottom of the wall to hold the first row of siding in place.
- Undersill Trim: Used to secure the top row of siding under windows and eaves.
Understanding these basics can help you make informed decisions when planning your home’s exterior. Whether you’re considering a new installation or a repaint, knowing the types of siding and trim available will ensure a cohesive and attractive look for your home.
Choosing the Right Colors for Your Home
Popular Color Combinations
Selecting the right color combinations can make a significant difference in your home’s appearance. Here are some popular choices:
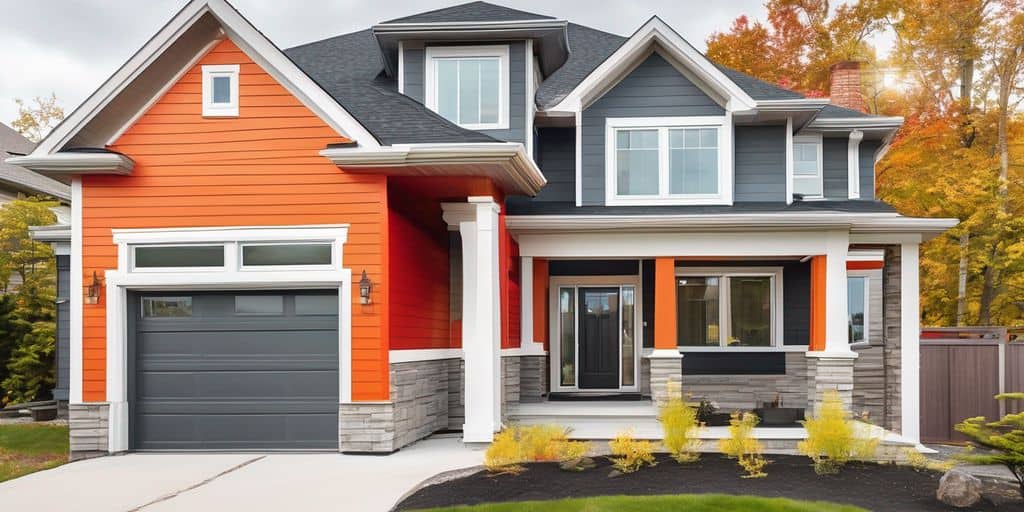
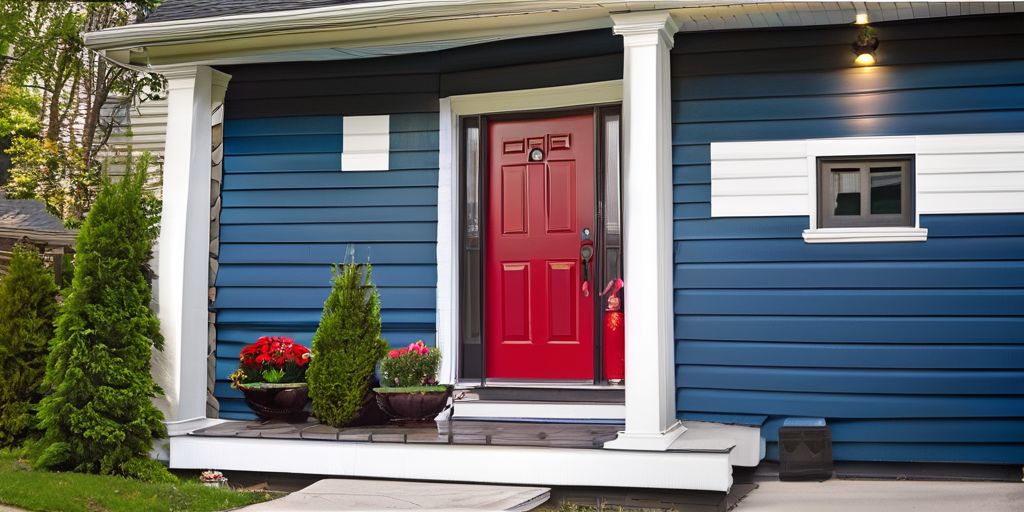
- Neutral and Bold: Pairing neutral tones like beige or gray with bold colors such as navy or red can create a striking look.
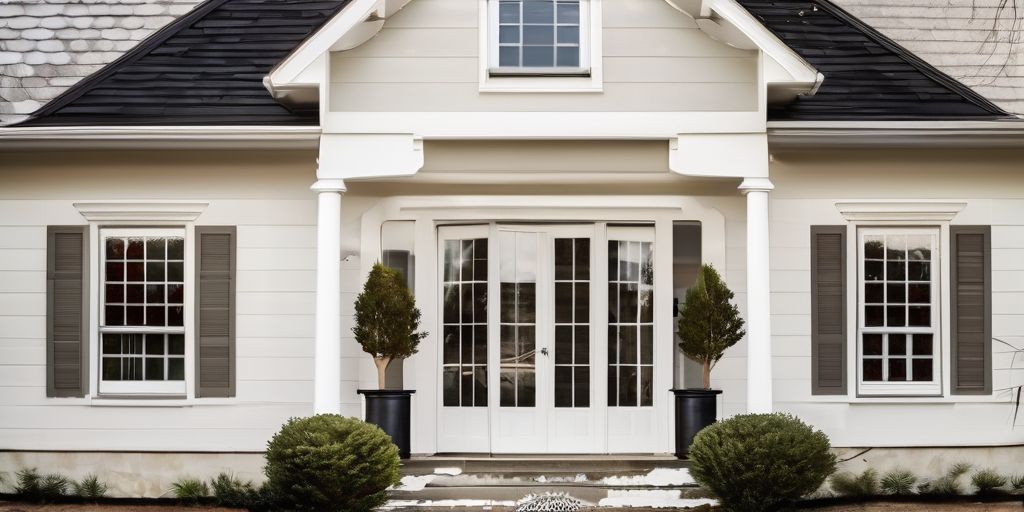
- Monochromatic Schemes: Using different shades of the same color can give a cohesive and elegant feel.
- Complementary Colors: Colors opposite each other on the color wheel, like blue and orange, can make your home stand out.
Factors to Consider When Choosing Colors
When picking colors for your vinyl siding and trim, consider the following factors:
- Architectural Style: The style of your home can guide your color choices. For example, a Victorian home might look great with pastel colors, while a modern home might benefit from sleek, dark tones.
- Climate: In Guelph, the local climate can affect how colors appear. Bright colors might fade faster under strong sunlight.
- Neighborhood Aesthetics: It’s essential to choose colors that harmonize with the surrounding homes to maintain a cohesive look.
How to Use Color to Highlight Architectural Features
Using color strategically can highlight your home’s architectural features. Here are some tips:
- Accent Colors: Use a different color for trim or shutters to draw attention to these features.
- Light and Dark Contrast: Light colors can make a small home appear larger, while dark colors can add depth and sophistication.
- Highlighting Details: Paint window frames, doors, and other details in contrasting colors to make them pop.
Remember, the right color combination can significantly boost your home’s curb appeal and make it stand out in your neighborhood.
Preparing Your Home for Painting
Cleaning and Prepping the Surface
Before you start painting, it’s crucial to clean and prep the surface. A clean surface ensures better paint adhesion and longevity. Here are the steps to follow:
- Wash the Surface: Use a pressure washer to remove dirt, dust, mold, and mildew. Pay special attention to hard-to-reach areas.
- Scrape and Sand: Remove any old, flaking paint and smooth out rough spots. This step is essential for correcting scratches and ensuring a smooth finish.
- Fill Holes and Gaps: Use caulk or filler to seal any holes or gaps in the siding or trim.
- Mask Off Areas: Protect windows, doors, and other areas you don’t want to paint by using masking tape and plastic sheets.
Proper preparation is key to achieving a flawless result for your home.
Necessary Tools and Materials
Having the right tools and materials can make the painting process much easier. Here’s a list of what you’ll need:
- Pressure washer
- Scrapers and sandpaper
- Caulk and filler
- Masking tape and plastic sheets
- Paint brushes and rollers
- Primer and paint
Common Mistakes to Avoid
Avoid these common mistakes to ensure a successful painting project:
- Skipping the Primer: Always apply a coat of primer before painting. This helps the paint adhere better and last longer.
- Ignoring Weather Conditions: Avoid painting on very hot, cold, or humid days. The paint may not dry properly under these conditions.
- Rushing the Prep Work: Take your time with cleaning and prepping the surface. Skipping these steps can lead to poor results.
By following these guidelines, you’ll be well on your way to a beautifully painted home. If you’re unsure about any step, consider consulting an exterior painter for professional advice.
The Painting Process: Step-by-Step
Priming the Surface
- Thorough Cleaning: Start by pressure washing the vinyl siding to remove dirt, dust, and any old, flaking coatings. This step is crucial for ensuring the new paint adheres properly.
- Scraping and Sanding: Remove any old caulking or remnants of vegetation. Aim to eliminate 85-90% of old material to ensure it doesn’t affect paint adhesion or longevity.
- Filling Holes and Gaps: Fill or caulk any nail or screw holes in your siding. Address old, deteriorating window caulking by repairing or replacing it as needed.
- Meticulous Masking: Carefully mask off areas like windows and doors to prevent unintended painting, ensuring a neat, professional finish.
Applying the Paint
- Quality Paint Selection: Choose a top-quality exterior house paint that is formulated for use on vinyl siding. This ensures durability and flexibility, ready for the harsh changing seasonal weathers of Ontario.
- Spray Painting Technique: Apply the paint using a specialized spray-painting technique. This method ensures a consistent, appealing, and durable result.
- Even Application: Ensure the finish is applied uniformly across each panel, maintaining consistency and avoiding common issues like drips or runs.
- Building Up The Coating: Apply as much paint as necessary to achieve maximal protection, but without causing sags or runs. Sometimes, a first coat is allowed to dry before adding a second coat.
Finishing Touches and Clean-Up
- De-Masking: Carefully remove all masking materials to reveal the freshly painted surfaces.
- Touch-Ups: Inspect the painted surfaces for any missed spots or imperfections and touch them up as needed.
- Clean-Up: Perform an extensive cleanup, removing all protective materials and ensuring the area is tidy.
- Final Inspection: Conduct a final inspection to ensure the paint job meets your expectations and the finish is flawless.
Proper preparation and careful application are key to achieving a long-lasting and professional finish on your vinyl siding and trim.
Maintaining Your Painted Vinyl Siding and Trim
Routine Cleaning Tips
Keeping your painted vinyl siding clean is essential for its longevity. Here are some tips:
- Regularly rinse your siding with a garden hose to remove dirt and debris.
- Use a soft brush and a mild detergent solution for tougher stains.
- Avoid using high-pressure washers as they can damage the paint.
- Clean your siding at least once a year, preferably in the spring.
How to Handle Chips and Peeling
Even with the best care, chips and peeling can occur. Here’s how to manage them:
- Inspect your siding regularly for any signs of damage.
- For small chips, use touch-up paint that matches your siding color.
- If you notice peeling, gently sand the area and apply a primer before repainting.
- Ensure the surface is clean and dry before applying any paint.
When to Repaint
Knowing when to repaint your vinyl siding can save you time and money. Consider these factors:
- Fading Colors: If the color looks dull or faded, it might be time for a fresh coat.
- Peeling or Cracking: These are clear signs that your siding needs repainting.
- Every 15-20 Years: As a general rule, repaint your siding every 15-20 years to maintain its appearance and protection.
Regular maintenance not only keeps your home looking great but also extends the life of your vinyl siding.
Maintaining your painted vinyl siding and trim is crucial for preserving its beauty and durability. By following these simple steps, you can ensure your home remains attractive and well-protected for years to come.
Hiring a Professional vs. DIY
When it comes to painting your vinyl siding and trim, you have two main options: hiring a professional or doing it yourself (DIY). Each choice has its own set of advantages and disadvantages. Let’s explore these options to help you make an informed decision.
Pros and Cons of DIY Painting
Pros:
- Cost-Effective: DIY painting can be more affordable since you won’t have to pay for labor.
- Flexibility: You can work on your own schedule and pace.
- Personal Satisfaction: Completing a project yourself can be very rewarding.
Cons:
- Time-Consuming: Painting can take a lot of time, especially if you’re not experienced.
- Skill Level: Achieving a professional finish can be challenging without the right skills.
- Safety Risks: Working on ladders and handling paint can be hazardous.
What to Look for in a Professional Painter
When hiring a professional painter, consider the following factors:
- Experience: Look for painters with a proven track record in vinyl siding and trim.
- References: Ask for references or read online reviews to gauge their reliability.
- Insurance: Ensure they have proper insurance to cover any accidents or damages.
- Detailed Estimate: A comprehensive estimate should include all costs, from prep work to clean-up.
Cost Comparison: DIY vs. Professional Services
Here’s a quick comparison of the costs involved in DIY and professional painting:
| Expense | DIY | Professional |
|---|---|---|
| Paint and Supplies | $200 – $500 | Included in estimate |
| Tools and Equipment | $100 – $300 | Included in estimate |
| Labor | Free | $2.15–$5.25 per sq ft |
| Time | 20-40 hours | 1-2 days |
As you can see, while DIY might save you money on labor, it requires a significant time investment and the cost of tools and supplies can add up.
Whether you choose to DIY or hire a professional, the key is to weigh the costs and benefits carefully. Consider your budget, time, and skill level before making a decision.
In Guelph, landmarks like the University of Guelph and Riverside Park can serve as inspiration for your home’s color scheme. Whether you go the DIY route or hire a professional, make sure to choose colors that complement your surroundings and enhance your home’s curb appeal.
Showcasing Your Home: Before and After
Real-Life Examples from Guelph Homes
Seeing the transformation of homes in Guelph can be truly inspiring. Here are some common changes homeowners make:
- Updating outdated colors to modern, trendy shades.
- Adding contrasting trim to highlight architectural features.
- Refreshing the exterior with a new coat of paint.
Tips for Capturing Great Photos
Taking great photos of your home’s transformation is essential. Follow these tips:
- Use natural light: Early morning or late afternoon light works best.
- Clean the area: Make sure the space is tidy and free of clutter.
- Take multiple angles: Capture different perspectives to showcase the full transformation.
- Highlight details: Focus on unique features like new trim or siding.
Sharing Your Home’s Transformation
Once you’ve captured stunning photos, share them with your community. Here are some ways to do it:
- Post on social media platforms like Instagram or Facebook.
- Create a blog post detailing the transformation process.
- Share before and after photos with local home improvement groups.
Transforming your home’s exterior can significantly boost its curb appeal and value. Whether you’re updating colors or adding new trim, the results can be truly remarkable.
By following these tips, you can effectively showcase your home’s new look and inspire others in your community to consider their own home improvement projects.
Transform your home with our amazing before and after showcases! See the stunning changes we can make to your house. Visit our website to explore more incredible transformations and get inspired for your next project. Don’t wait, make your home beautiful today!
Conclusion
Choosing the right colors for your vinyl siding and trim can make a big difference in how your home looks. In Guelph, where homes come in all shapes and sizes, it’s important to pick colors that match your style and the neighborhood. With the right paint and a good plan, you can make your home look fresh and new without spending a lot of money. Remember, a little color can go a long way in making your house feel more like a home.
Frequently Asked Questions
What is vinyl siding?
Vinyl siding is a type of plastic exterior cladding for houses. It is used for decoration and weatherproofing, imitating wood clapboard, batten board, and shakes.
Why choose vinyl siding for my home?
Vinyl siding is popular because it’s durable, low-maintenance, and comes in various colors and styles. It’s also resistant to pests and doesn’t need to be painted.
What types of trim work well with vinyl siding?
Common types of trim used with vinyl siding include J-channel, corner post, and soffit. These trims help create a finished look and protect the edges of the siding.
How do I choose the right color for my vinyl siding and trim?
Consider your home’s style, the neighborhood, and your personal preferences. Popular combinations often include neutral tones with contrasting trims. Visiting homes in your area can also provide inspiration.
What should I do to prepare my home for painting vinyl siding?
Start by cleaning the surface thoroughly to remove dirt, mold, and peeling paint. Gather the necessary tools and materials, and make sure to fix any damages before painting.
Is it better to hire a professional or do it myself?
Hiring a professional can save time and ensure a high-quality finish, but it can be more expensive. DIY painting can be cost-effective but requires time, effort, and some skill.


