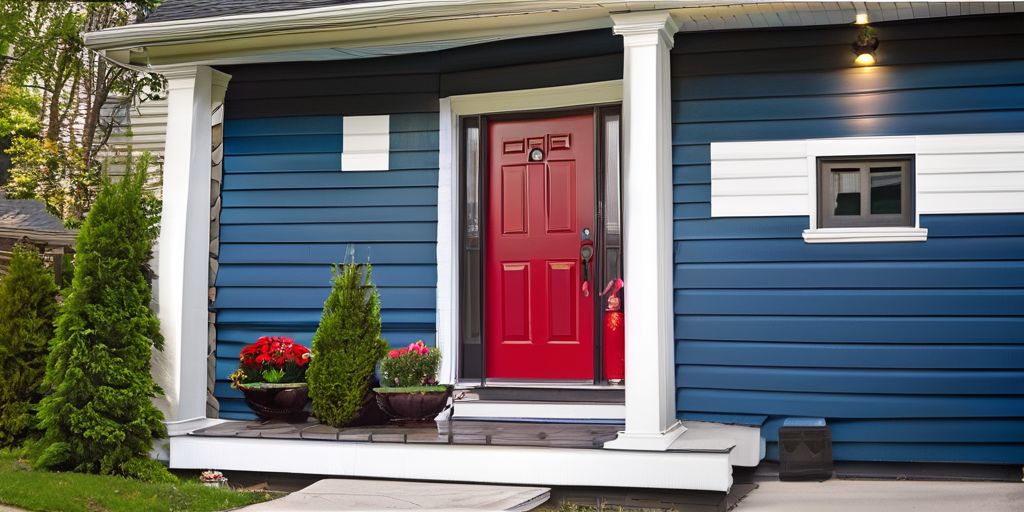
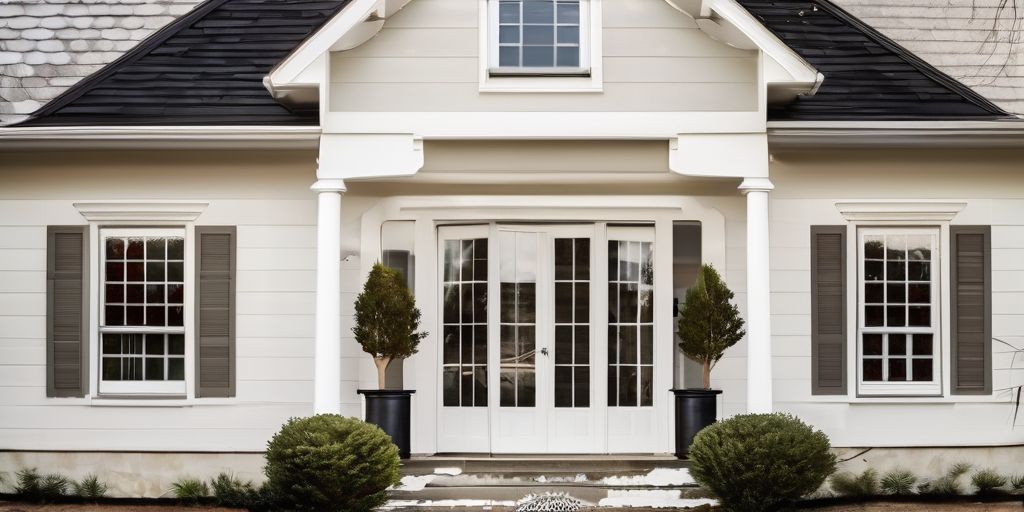
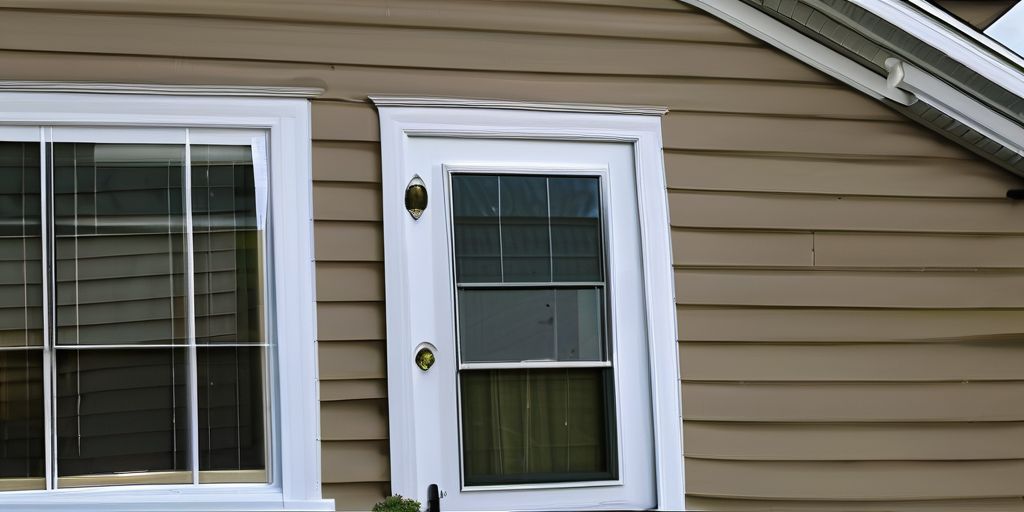
Painting old vinyl siding can give your home a fresh, new look without the cost of replacing it. In Cambridge, where houses have unique architectural styles, it’s important to follow the right steps to ensure the paint job lasts and looks great. This guide will walk you through the best techniques for prepping and painting your aged vinyl siding.
Key Takeaways
- Choose the right paint for vinyl siding to ensure it sticks well and lasts long.
- Clean your siding thoroughly to remove dirt, mildew, and algae before painting.
- Fix any cracks and replace damaged sections for a smooth finish.
- Apply a suitable primer to help the paint adhere better and last longer.
- Use proper painting techniques for a professional look and maintain your painted siding regularly.
Choosing the Right Paint for Vinyl Siding
Selecting the ideal paint for your vinyl siding is crucial for both aesthetics and longevity. Here’s what to consider:
Understanding Paint Formulations
- Acrylic paints are highly recommended due to their flexibility and ability to expand and contract with the vinyl, preventing cracks and peels.
- Opt for a paint with a light reflectance value (LRV) higher than the vinyl to avoid warping from heat absorption.
- A paint with UV inhibitors will help maintain the color’s vibrancy against sun exposure.
Selecting Colors That Complement Cambridge Homes
Choosing the right color can make a significant difference in your home’s appearance. Consider these tips:
- Lighter colors are generally better as they reflect heat and reduce the risk of warping.
- Look around your neighborhood to see what colors are popular and blend well with the local architecture.
- If you live near landmarks like Harvard Square, you might want to choose colors that complement the historic and academic vibe of the area.
Ensuring Longevity and Durability
To ensure your paint job lasts, follow these guidelines:
- Always clean the surface thoroughly before painting to remove grime and mildew.
- Apply a primer designed for vinyl siding to improve paint adhesion.
- Consider weather conditions, especially humidity, as it can impact the drying process and final finish.
Key Thought: When painting vinyl siding, choose acrylic-based or urethane-acrylic blend paints for strong adhesion and durability. Opt for lighter colors to prevent warping from heat buildup and clean the surface thoroughly before starting to avoid grime ruining your finish.
Essential Cleaning Techniques
Cleaning your vinyl siding is a crucial step before painting. It ensures that the paint adheres properly and lasts longer. Here are some essential cleaning techniques to get your siding ready for a fresh coat of paint.
Pressure Washing for Deep Cleaning
Pressure washing is an effective way to remove dirt, grime, and old paint from your vinyl siding. Stand back several feet and use green or white spray nozzles to avoid damaging the siding. A simple solution of soapy water can work wonders, but for tougher spots, specialized cleaners are available. Make sure every nook and cranny gets attention.
Using Mildew and Algae Cleaners
Mildew and algae can build up over time, especially in damp areas. Use a solution made from 1 cup of bleach to 5 gallons of water to tackle these issues. For a greener option, choose a phosphate-free cleaner. Apply the solution with a soft-bristle brush and scrub gently to avoid damaging the siding.
Rinsing and Drying the Siding
After cleaning, it’s important to rinse off any soap or cleaning solution thoroughly. Use a garden hose to rinse the siding from top to bottom. Make sure the siding is completely dry before moving on to the next step. This ensures that the paint will adhere properly and last longer.
Tip: Always check the weather forecast before beginning your painting project. Ideal conditions mean your hard work will last longer and look better!
Repairing and Prepping the Surface
Before painting aged vinyl siding, it’s crucial to repair and prep the surface properly. This ensures a smooth and long-lasting finish.
Priming for Better Adhesion
Priming is a crucial step in ensuring your paint adheres well to aged vinyl siding. It creates a smooth, even base that helps the paint stick better and last longer. Here are some tips to get it right:
Selecting the Right Primer
Choosing the right primer is essential. Look for bonding primers specifically made for plastics. These primers form a strong bond between the old layers and the new paint, making peeling a thing of the past. If you’re changing from a dark to a light color, or if the surface is very porous, priming is especially important.
Application Tips for Even Coverage
To get even coverage, it’s best to prime the entire house rather than just spot-priming damaged areas. This helps the paint adhere uniformly. You can use a brush, roller, or sprayer for this task. If you opt for spraying, test the spray on cardboard first to get the pressure right. Also, choose a non-windy day to avoid overspray on neighboring properties.
Drying Time Considerations
Allow the primer to dry completely before applying the topcoat. This usually takes a few hours, but it’s best to check the manufacturer’s instructions for exact drying times. Skipping this step can lead to poor adhesion and peeling later on.
Proper priming sets the stage for a successful paint job, ensuring that your efforts result in a beautiful and long-lasting finish.
Painting Techniques for a Professional Finish
Using Brushes and Rollers
To achieve a smooth finish on your vinyl siding, using the right tools is essential. Brushes are great for detailed areas and edges, while rollers can cover larger surfaces quickly. High-quality brushes and rollers will help you avoid streaks and ensure even coverage. When painting, always start from the top and work your way down to prevent drips and runs.
Spray Painting Tips
Spray painting can be a fast and efficient way to cover large areas. Make sure to practice on a piece of cardboard first to get a feel for the spray pattern. Keep the sprayer moving to avoid uneven spots and overlap each pass slightly. Remember to wear protective gear to avoid inhaling fumes.
Layering for Optimal Coverage
Applying multiple thin layers of paint is better than one thick coat. This technique helps in achieving a more durable and even finish. Allow each layer to dry completely before applying the next one. This method not only enhances the longevity of the paint but also ensures a more vibrant color.
For a professional look, patience is key. Rushing through the painting process can lead to a less-than-perfect finish. Take your time to ensure each layer is applied smoothly and evenly.
By following these techniques, you can transform your home’s exterior and make it stand out in your Cambridge neighborhood.
Maintaining Your Painted Vinyl Siding
Regular Cleaning Routines
To keep your freshly painted vinyl siding looking its best, regular cleaning is essential. Pressure wash your siding at least once a year, preferably at the beginning or end of summer. This helps remove any accumulated dust, dirt, or insects. For a more thorough clean, use a mixture of vinegar and water or oxygen bleach to tackle mildew and algae.
Touch-Up Tips
Over time, your painted siding may develop small chips or cracks. Keep some spare paint on hand for quick touch-ups. Before applying the paint, make sure the area is clean and dry. Use a small brush for precise application. This will help maintain the fresh look of your siding and save you money in the long run.
Protecting Against Weather Damage
Cambridge’s weather can be harsh, especially during winter. To safeguard your vinyl siding paint from Hamilton’s winter conditions, consider applying a weather-resistant sealant. This will add an extra layer of protection against snow, rain, and wind. Regularly inspect your siding for any signs of wear and tear, and address issues promptly to ensure longevity and durability.
Maintaining your painted vinyl siding with simple care: a vinegar-water mix for cleaning, oxygen bleach for mildew, and spare paint for touch-ups. These steps keep it looking great and save you money in the long run.
Keeping your painted vinyl siding looking fresh and vibrant is easier than you think. Regular maintenance can extend the life of your paint job and keep your home looking its best. For more tips and professional help, visit our website today!
Conclusion
Painting aged vinyl siding in Cambridge can seem like a big task, but with the right prep work and techniques, it can be a rewarding project. Remember to clean your siding thoroughly, fix any damage, and choose the right paint for the job. These steps will help ensure that your siding looks great and lasts for years. By following these tips, you can give your home a fresh, new look without the high cost of replacing the siding. Happy painting!
Frequently Asked Questions
What type of paint is best for vinyl siding?
For vinyl siding, it’s important to use paint that ensures strong adhesion and longevity. Look for paints specifically formulated for vinyl surfaces.
How do I clean vinyl siding before painting?
Start by giving your siding a good wash. Use a pressure washer for deep cleaning, and consider using mildew and algae cleaners for any stubborn spots.
Do I need to prime vinyl siding before painting?
Yes, priming is essential. Use a primer that is compatible with vinyl siding to ensure better adhesion and a smoother finish.
How can I repair cracks in vinyl siding?
Identify any cracks and use an exterior-grade caulk to fill them. For larger damages, you might need to replace the affected sections.
What are the best painting techniques for vinyl siding?
You can use brushes, rollers, or spray painting methods. Make sure to apply multiple layers for optimal coverage and a professional finish.
How do I maintain painted vinyl siding?
Regular cleaning and occasional touch-ups are key. Protect your siding from weather damage by keeping it clean and promptly addressing any issues.


