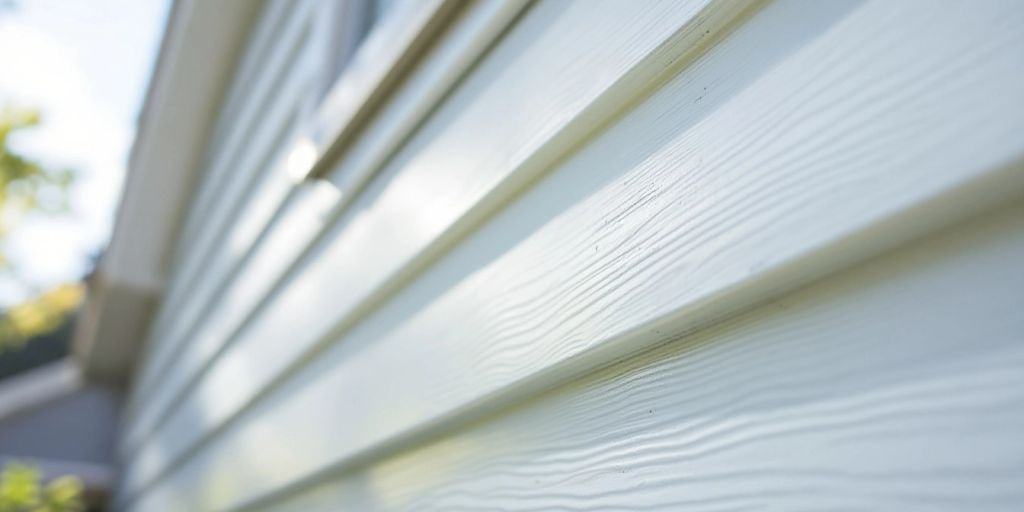
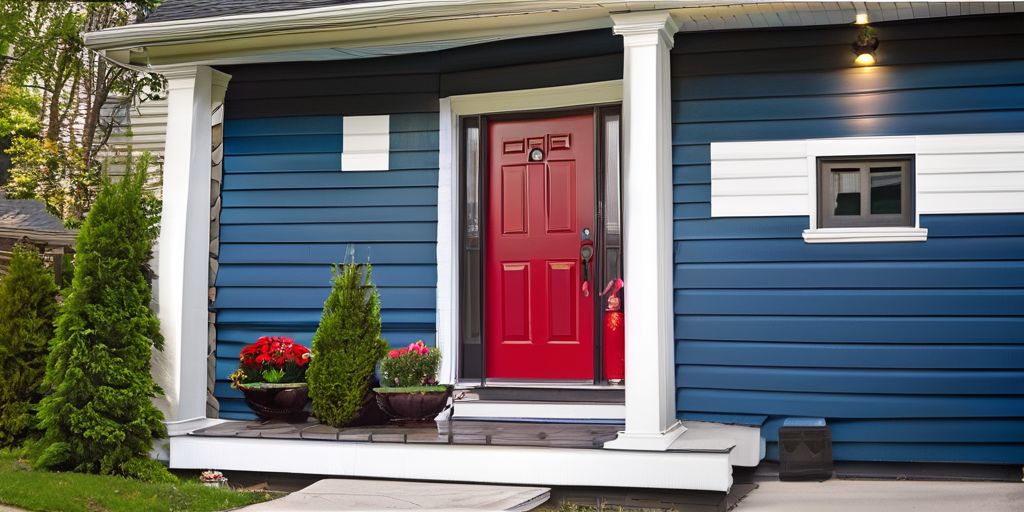
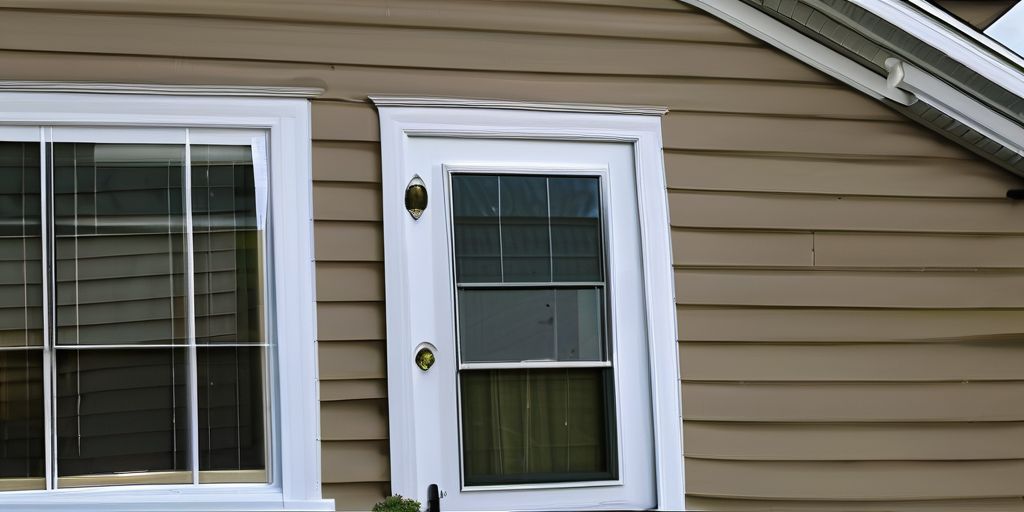
Vinyl siding is a popular choice for homes in Etobicoke because it is durable and looks good. However, before you paint it, it’s important to fix any scratches. This ensures that the paint will stick well and that your home will look its best for a long time. Here’s what you need to know about repairing scratches on vinyl siding before painting.
Key Takeaways
- Fixing scratches is important for the look of your home.
- The right tools and materials make repairs easier.
- Prepare the surface well to ensure paint sticks.
- Choose the right paint for vinyl siding.
- Regular maintenance helps keep your siding in good shape.
Understanding the Importance of Vinyl Siding Repair
Vinyl siding is a popular choice for many homeowners, especially in areas like Etobicoke. Repairing scratches is essential to maintain its appearance and longevity. Here’s why it matters:
Why Repairing Scratches is Crucial
- Prevents Further Damage: Small scratches can lead to bigger issues if not addressed.
- Enhances Durability: Keeping the siding intact helps it withstand weather conditions.
- Saves Money: Timely repairs can prevent costly replacements down the line.
Impact on Aesthetic Appeal
- Improves Curb Appeal: A well-maintained exterior makes your home look inviting.
- Increases Property Value: Homes with good upkeep often sell for more.
- Reflects Care: A tidy appearance shows you care about your home.
Long-term Benefits of Proper Maintenance
- Longevity: Regular repairs extend the life of your siding.
- Energy Efficiency: Well-maintained siding can help with insulation, saving on energy bills.
- Peace of Mind: Knowing your home is protected gives you confidence.
Remember, taking care of your vinyl siding today can save you headaches tomorrow. Whether you’re near the beautiful Humber Bay Park or anywhere else in Etobicoke, keeping your home in top shape is always a good idea!
Tools and Materials Needed for Vinyl Siding Repair
Repairing scratches on vinyl siding is a straightforward task, but having the right tools and materials is essential for a successful job. Here’s a handy list to get you started:
Essential Tools for the Job
- Utility Knife: Perfect for cutting and trimming vinyl.
- Framing Square: Helps ensure straight cuts and accurate measurements.
- Hammer: Useful for securing any loose panels.
- Aviation Snips: Ideal for cutting through thicker vinyl materials.
- Zip Tool: A siding removal tool that makes it easier to detach panels.
Choosing the Right Materials
- Replacement Vinyl: Match the color and style of your existing siding.
- Filler Compound: For filling in scratches and imperfections.
- Caulk: To seal any gaps and prevent moisture from entering.
Safety Gear and Precautions
- Safety Glasses: Protect your eyes from debris.
- Work Gloves: Keep your hands safe while handling tools and materials.
- Dust Mask: Useful if you’re sanding or working with any dust-producing materials.
Remember, taking the time to gather the right tools and materials will make your repair process smoother and more effective. Plus, it can save you time and effort in the long run!
Step-by-Step Guide to Repairing Scratches on Vinyl Siding
Preparing the Surface
- Clean the Area: Start by washing the scratched area with soap and water to remove dirt and debris. This ensures a smooth repair.
- Dry Thoroughly: Make sure the surface is completely dry before proceeding. Moisture can affect the repair materials.
- Inspect for Damage: Look for any deeper damage that might need additional attention before filling scratches.
Filling and Smoothing Scratches
- Choose the Right Filler: Use a vinyl siding repair kit or a compatible filler. Ensure it matches the color of your siding for a seamless look.
- Apply the Filler: Use a putty knife to apply the filler into the scratch. Press firmly to fill the scratch completely.
- Smooth the Surface: Once the filler is dry, sand it down gently with fine-grit sandpaper until it’s flush with the surrounding area.
Finishing Touches Before Painting
- Clean Again: Wipe the area with a damp cloth to remove any dust from sanding.
- Prime if Necessary: If the filler is a different color, consider applying a primer to ensure even paint coverage.
- Inspect Your Work: Stand back and check for any imperfections. Make any necessary adjustments before painting.
Remember, taking the time to properly repair scratches will lead to a more beautiful and long-lasting finish when you paint your vinyl siding.
By following these steps, you can ensure that your vinyl siding is ready for a fresh coat of paint, enhancing the overall look of your home in Etobicoke, perhaps even near the scenic Humber Bay Park!
Best Practices for Painting Vinyl Siding in Etobicoke
Selecting the Right Paint
When it comes to painting vinyl siding, choosing the right paint is essential. Here are some tips:
- Use high-quality paint specifically designed for vinyl siding.
- Opt for lighter colors to avoid heat absorption, which can warp the siding.
- Ensure the paint is resistant to mold and mildew, especially in humid areas like Etobicoke.
Application Techniques
To achieve a smooth finish, follow these application techniques:
- Clean the surface thoroughly to remove dirt and debris.
- Use a sprayer or roller for even coverage.
- Apply paint in thin layers, allowing each coat to dry before adding another.
Weather Considerations
Weather plays a big role in painting vinyl siding. Keep these points in mind:
- Avoid painting on extremely hot or cold days.
- Check the humidity levels; painting in high humidity can lead to poor adhesion.
- Aim for a dry day to ensure the paint cures properly.
Remember, taking the time to prepare and choose the right materials can make a big difference in the longevity of your paint job.
By following these best practices, you can ensure your vinyl siding looks great and lasts longer, enhancing the beauty of your home in Etobicoke, perhaps even near the scenic Humber Bay Park!
Maintaining Your Vinyl Siding After Painting
Regular Cleaning Tips
To keep your vinyl siding looking fresh and new, regular cleaning is essential. Here are some tips:
- Gentle cleaning: Use a mixture of water and mild detergent to wash your siding at least once a year.
- Avoid pressure washing, as it can damage the surface.
- Rinse thoroughly to remove any soap residue.
Preventing Future Damage
Taking steps to prevent damage can save you time and money in the long run. Consider these practices:
- Inspect your siding regularly for any signs of wear or damage.
- Trim back any overhanging branches that could scratch the surface.
- Ensure proper drainage around your home to prevent water damage.
Seasonal Maintenance Advice
Different seasons bring different challenges. Here’s how to prepare:
- Spring: Check for mold or mildew and clean as needed.
- Summer: Inspect for fading and consider touch-ups.
- Winter: Ensure your siding is free from ice and snow buildup.
Keeping your vinyl siding well-maintained not only enhances your home’s appearance but also extends its lifespan.
By following these simple steps, you can enjoy the beauty of your home in Etobicoke, perhaps while admiring the view of the nearby Humber Bay Park!
Common Mistakes to Avoid When Repairing and Painting Vinyl Siding
Skipping Surface Preparation
One of the biggest mistakes homeowners make is skipping the prep work. Proper preparation is key to a successful painting job. Here are some steps to ensure you’re ready:
- Clean the surface thoroughly to remove dirt and grime.
- Inspect for any damages or scratches that need fixing.
- Make sure to scrape off any old paint, especially in the direction of the wood grain.
Using Incorrect Materials
Choosing the wrong materials can lead to poor results. Here’s what to keep in mind:
- Always use paint specifically designed for vinyl siding.
- Ensure that any fillers or patches are compatible with vinyl.
- Avoid using harsh chemicals that can damage the siding.
Ignoring Weather Conditions
Weather plays a crucial role in the success of your project. Be mindful of the following:
- Avoid painting on extremely hot or cold days.
- Check the humidity levels; high humidity can affect drying times.
- Plan your work around local weather forecasts, especially in areas like Etobicoke where conditions can change quickly.
Remember, taking the time to prepare and choose the right materials will save you headaches later on. A little effort now can lead to a beautiful finish that lasts for years!
When fixing and painting vinyl siding, it’s easy to make mistakes that can lead to poor results. To avoid these pitfalls, make sure to clean the surface thoroughly and choose the right paint. Don’t rush the prep work; it’s key to a long-lasting finish. For more tips and to see how we can help you transform your home, visit our website today!
Wrapping Up Your Vinyl Siding Repair
In conclusion, fixing scratches on your vinyl siding before painting is a smart move. It not only makes your home look better but also helps the paint stick better and last longer. By taking the time to repair those little marks, you ensure that your painting project goes smoothly and looks great. Remember, a little effort now can save you a lot of trouble later. So, gather your tools, follow the steps, and enjoy your refreshed home in Etobicoke!
Frequently Asked Questions
Why is it important to fix scratches on vinyl siding before painting?
Fixing scratches helps the paint stick better and makes your home look nicer. It also stops water from getting in, which can cause more damage.
What tools do I need to repair scratches on vinyl siding?
You will need a putty knife, sandpaper, and some vinyl siding repair compound. A clean cloth and some paint can also be helpful.
Can I use any paint on vinyl siding?
No, you should use paint that is specially made for vinyl siding. This type of paint is designed to stick well and last longer.
How do I know if the weather is good for painting vinyl siding?
It’s best to paint when it’s dry and not too hot or cold. A temperature between 50°F and 85°F is usually good.
What should I do if I notice more scratches after painting?
If you see new scratches, fix them right away to keep your siding looking good. You might need to touch up the paint too.
How often should I clean my vinyl siding?
You should clean your vinyl siding at least once a year to keep it looking nice and to prevent dirt and mold from building up.


