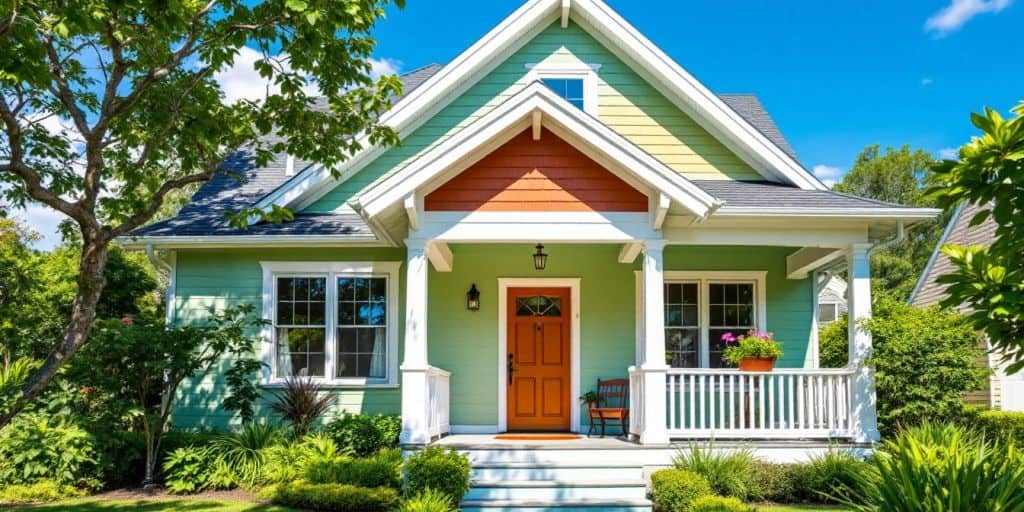
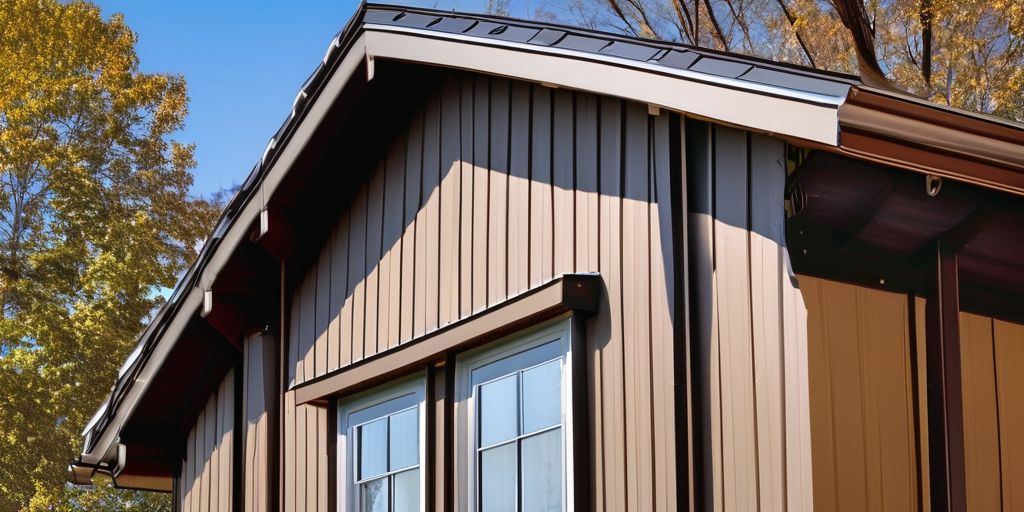
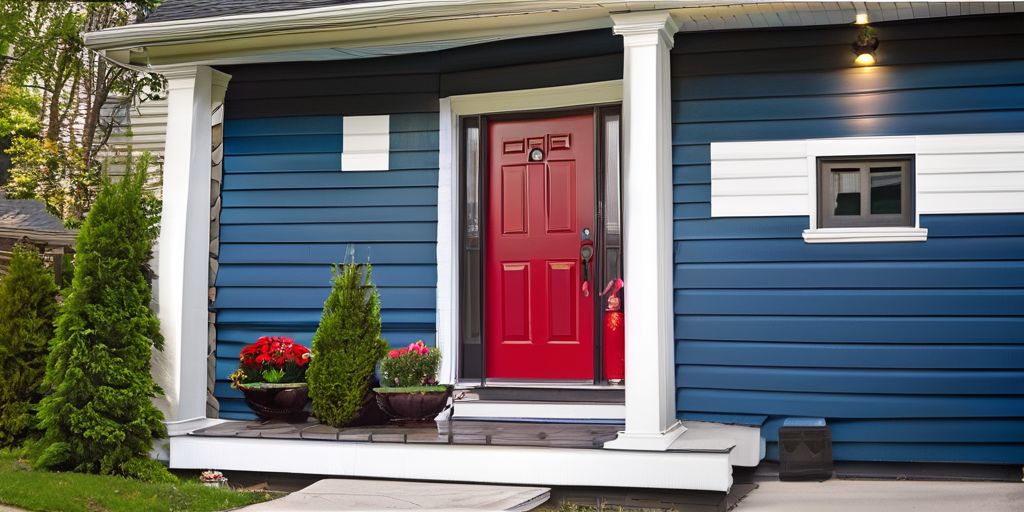
Painting the outside of your home can seem like a big task, but it’s doable with the right steps and tools. This guide will help you get ready, choose the right materials, and learn some handy techniques to make your home look fresh and new. Whether you’re painting your entire house or just touching up some areas, following these steps will help you achieve a great finish.
Key Takeaways
- Start by preparing your home; trim bushes and clean the surfaces.
- Gather all necessary tools and choose good quality paint.
- Clean and fix any damaged areas before painting.
- Use primer to help the paint stick better, especially on rough surfaces.
- Apply paint carefully in sections to avoid marks and achieve a smooth finish.
Preparing Your Home for Exterior Painting
Before you dive into painting your home’s exterior, it’s essential to prepare properly. This ensures a smooth and successful project. Here are the key steps to get started:
Trimming Bushes and Limbs
- Assess your surroundings: Walk around your home to identify any bushes or tree limbs that might obstruct your access.
- Trim or tie back: Cut back any overgrown branches or bushes to allow easy access for ladders. You can also tie them back with gardener’s twine.
- Cover A/C units: Turn off any air conditioning units and cover them with plastic to protect them from paint splatters.
Cleaning the Trim and Siding
- Remove dirt and grime: Use a pressure washer to clean the siding and trim. This helps remove dirt, mold, and mildew that can affect paint adhesion.
- Use TSP solution: For stubborn stains, a TSP (trisodium phosphate) solution can be effective. Just mix it with water and scrub the surfaces clean.
- Safety first: If your home was built before 1978, check for lead paint and follow safety guidelines.
Removing Unpainted Items
- Take off removable items: Use a screwdriver to remove house numbers, lights, and other fixtures that can be easily taken off.
- Mask unmovable items: For items that can’t be removed, like gutters and windows, use painter’s tape and plastic sheeting to protect them from paint.
Proper preparation is key to a successful paint job! Taking the time to prepare your home will enhance its curb appeal and ensure a long-lasting finish.
By following these steps, you’ll set yourself up for a successful painting project that will leave your home looking fresh and vibrant!
Essential Tools and Materials for DIY Exterior Painting
When it comes to painting the outside of your home, having the right tools and materials is key to achieving a great finish. Here’s what you’ll need:
Gathering the Right Tools
- Paint Sprayer: Perfect for larger areas, it helps you cover more ground quickly.
- Brushes and Rollers: Use high-quality brushes for detailed work and rollers for larger surfaces.
- Ladders: A six-foot ladder and an extension ladder will help you reach high spots safely.
Choosing Quality Paints and Primers
- Exterior Acrylic-Latex Paint: This is durable and weather-resistant, making it ideal for outdoor use.
- Primer: A good primer helps the paint adhere better and can block stains. Consider using a stain-blocking primer for the best results.
- Trim Paint: Use a semigloss finish for trim to give it a polished look.
Safety Gear and Equipment
- Personal Protective Gear: Always wear a mask, gloves, and goggles to protect yourself from fumes and splashes.
- Drop Cloths: Protect your landscaping and surfaces from paint drips.
- Painter’s Tape: Use this to mask off areas you don’t want to paint, ensuring clean lines.
Remember, using high-quality tools and materials can make a big difference in the outcome of your project.
By gathering these essential tools and materials, you’ll be well on your way to a successful DIY exterior painting project!
Cleaning and Repairing Surfaces
Pressure-Washing the Exterior
To start, cleaning your home’s exterior is crucial for a successful paint job. Use a pressure washer to remove dirt, mildew, and loose paint. Here’s how:
- Choose the right pressure setting to avoid damaging surfaces.
- Work from the top down, overlapping each stroke by about 8 inches.
- Allow the surface to dry completely before moving on.
Repairing Damaged Surfaces
Next, inspect your home for any damage. Look for:
- Cracks or holes in wood, masonry, or stucco.
- Rotted wood that feels spongy.
- Missing or cracked glazing on windows.
For any issues found:
- Use an exterior-grade wood filler for small cracks.
- Replace any severely damaged wood.
- Reglaze windows by removing old putty and applying new compound.
Removing Loose Paint
Once the surfaces are clean and repaired, it’s time to tackle loose paint. Follow these steps:
- Use a paint scraper or medium-grit sanding block to remove any peeling paint.
- Cover nearby plants with drop cloths to catch debris.
- Check that all edges are sound by running your fingernail along them.
A well-prepared surface ensures better paint adhesion and a longer-lasting finish.
By following these steps, you’ll set a solid foundation for your painting project!
Priming the Exterior
When it comes to painting your home, priming is a crucial step that should not be overlooked. It helps the paint adhere better and can improve the overall finish. Here’s what you need to know:
When to Use Primer
- New Surfaces: Always prime new wood or drywall.
- Stains: If there are stains or knots, use a stain-blocking primer.
- Color Change: When changing from a dark to a light color, primer is essential.
Applying Primer Correctly
- Clean the Surface: Make sure the area is free of dirt and dust.
- Choose the Right Primer: Aim for a high-quality latex acrylic primer with 100% acrylic binders, unless you are painting cedar and redwood. In that case, use oil-based primers.
- Use Proper Tools: A brush or roller works well for most surfaces, while a sprayer can cover large areas quickly.
Choosing the Right Primer
| Type of Surface | Recommended Primer Type |
|---|---|
| Wood | Oil-based or latex acrylic |
| Metal | Rust-inhibiting primer |
| Drywall | Latex primer |
| Previously Painted | Bonding primer for adhesion |
Remember, applying primer not only enhances the paint’s durability but also ensures a more vibrant finish.
By following these steps, you can ensure that your exterior paint job looks great and lasts for years!
Painting Techniques for a Professional Finish
Achieving a professional-looking finish on your exterior paint job requires the right techniques. Here are some essential methods to consider:
Using Brushes, Rollers, and Sprayers
- Brushes: Ideal for corners and edges. Use long, even strokes to avoid streaks.
- Rollers: Great for large areas. Apply paint in a ‘W’ or ‘M’ pattern for even coverage.
- Sprayers: Perfect for quick application on larger surfaces. Practice on cardboard first to get comfortable.
Backrolling Method
- This technique involves rolling paint onto the surface after spraying. It helps to ensure even coverage and better adhesion.
- Steps:
- Spray the paint onto the surface.
- Immediately follow with a roller to smooth it out.
- Maintain a wet edge to avoid overlap marks.
Avoiding Overlap Marks
- To prevent visible lines where paint overlaps, always work in sections.
- Tips:
- Keep a wet edge while painting.
- Use consistent pressure on your brush or roller.
- Apply multiple thin coats instead of one thick coat for a smoother finish.
Remember, patience and attention to detail are key to a successful paint job. Taking the time to master these techniques will lead to a beautiful and lasting finish on your home’s exterior.
By following these techniques, you can ensure that your painting project not only looks great but also stands the test of time. Happy painting!
Painting the Siding
Once you’ve finished with the windows, it’s time to tackle the siding. Here’s how to do it right:
Masking Off Areas
- Protect surfaces you don’t want to paint by masking them off with painter’s tape.
- Use plastic sheeting to cover larger areas like windows and doors.
- Make sure to secure the edges well to prevent paint from seeping underneath.
Spraying and Back-Brushing
- If you’re using a sprayer, start from the top and work your way down.
- Spray in small sections, then use a brush to back-brush the paint. This helps it stick better and smooths out any uneven spots.
- For rollers, apply paint in small sections and back-brush as well to avoid any overlap marks.
Applying Multiple Coats
- After the first coat dries, check for any missed spots or uneven areas.
- Apply a second coat following the paint manufacturer’s guidelines for drying time.
- Remember, a good paint job can last for years if done correctly!
Painting Trim and Details
Painting Windows and Doors
When it comes to painting windows and doors, precision is key. Here are some steps to follow:
- Start with the window sashes: Begin from the inner part and work your way out.
- Avoid painting windows shut: If you have double-hung windows, paint the upper sash first while it’s partially open, then do the bottom sash once it’s dry.
- Use an angled brush: This helps you get into tight spots without needing to cut in at the edges.
Remember, a well-executed paint job can transform your front door into a welcoming feature that boosts curb appeal.
Detailing Trim
Detailing trim can really accentuate your home’s features. Here’s how:
- Prepare the surface: Sand it down and clean it thoroughly.
- Use painter’s tape: This will help you create clean lines and avoid messy edges.
- Apply thin coats: This ensures even coverage and reduces the risk of drips.
Using Semigloss Paint
For trim and details, semigloss paint is often the best choice. Here’s why:
- Durability: It stands up well to wear and tear.
- Easy to clean: You can wipe it down without damaging the finish.
- Reflective finish: It adds a nice shine that enhances the overall look of your home.
In summary, taking the time to paint trim and details properly can make a significant difference in the appearance of your home. Happy painting!
Clean-Up and Maintenance
After completing your exterior painting project, it’s essential to take care of your tools and leftover materials. Proper clean-up ensures your tools last longer and are ready for your next project. Here are some steps to follow:
Cleaning Brushes and Rollers
- Rinse brushes and rollers with warm, soapy water immediately after use.
- For oil-based paints, use mineral spirits to clean your tools thoroughly.
- Hang brushes upside down to maintain their shape.
Storing Leftover Paint
- Seal leftover paint cans tightly to prevent drying out.
- Store them in a cool, dry place away from direct sunlight.
- Label the cans with the color and date for easy reference later.
Disposing of Hazardous Materials
- Check local regulations for disposing of paint and solvents.
- Never pour paint down the drain or throw it in the regular trash.
- Use a hazardous waste facility for safe disposal.
Taking care of your tools and materials not only helps in maintaining their quality but also contributes to a cleaner environment.
By following these clean-up and maintenance tips, you can ensure that your painting project is a success and that your tools are ready for the next time you decide to refresh your home’s exterior. Remember, a little effort in clean-up goes a long way in preserving your investment!
Seasonal Tips for Exterior Painting
When it comes to painting the outside of your home, timing is everything! Here are some helpful tips to keep in mind:
Best Time of Year to Paint
- Spring and Summer are ideal for exterior painting due to warmer temperatures and longer daylight hours.
- Early Fall can also be a great time, especially if you want to enhance your home’s curb appeal before winter.
- Avoid painting during extreme weather conditions, such as heavy rain or freezing temperatures.
Weather Considerations
- Aim for humidity levels between 40% and 50% for optimal paint drying.
- Avoid painting when humidity is above 70%.
- Morning is usually the best time to start, as dew will have evaporated by then.
Early Fall Painting Tips
- Check the forecast to ensure dry conditions for at least a few days.
- Inspect your surfaces for any damage that may need repair before painting.
- Consider using a high-quality primer to ensure a smooth finish, especially if changing colors.
Remember: Proper planning according to seasonal challenges is key to achieving a durable and professional finish.
By following these seasonal tips, you can ensure that your DIY exterior painting project goes smoothly and looks fantastic!
When to Call a Professional
Sometimes, taking on a painting project can feel overwhelming. Here are some signs that it might be best to call in the experts:
Assessing the Scope of the Project
- Time Constraints: If you’re short on time, professionals can complete the job much faster than a DIYer.
- Large Areas: For extensive areas, a team can finish in a week what might take you months.
- Complexity: If your home has intricate details or high areas, it may be safer and easier to hire someone.
Time and Physical Demands
- Physical Strain: Painting can be tiring. If you have health issues or physical limitations, consider hiring help.
- Weather Conditions: If the weather is unpredictable, professionals can adapt quickly to ensure a quality job.
- Long-Term Commitment: A professional can provide a long-lasting finish that saves you from frequent touch-ups.
Benefits of Hiring Pros
- Expertise: Professionals know the best techniques and products to use, ensuring a high-quality finish.
- Safety: They have the right equipment and experience to work safely, especially on ladders or scaffolding.
- Warranty: Many professionals offer warranties on their work, giving you peace of mind.
Remember, hiring a professional can save you time and effort, allowing you to enjoy your beautifully painted home sooner!
If you’re unsure about tackling a home improvement project, it might be time to reach out for professional help. Our skilled team is ready to assist you in transforming your home’s exterior. Don’t hesitate to visit our website for a free estimate and see how we can enhance your property today!
Wrapping Up Your DIY Painting Project
In conclusion, painting your home’s exterior can be a fun and rewarding project. By following the steps outlined in this guide, you can achieve a beautiful finish that will last for years. Remember to take your time with preparation, as it’s key to a successful paint job. Don’t forget to enjoy the process and take pride in your work. With a little effort and creativity, your home can look fresh and inviting. Happy painting!
Frequently Asked Questions
What should I do before I start painting my house?
Before painting, make sure to trim any bushes or tree limbs that might be in the way. Clean the walls and trim to remove dirt and grime.
What tools do I need for exterior painting?
You’ll need brushes, rollers, a paint sprayer, painter’s tape, drop cloths, and safety gear like goggles and gloves.
How do I clean the surfaces before painting?
You can use a pressure washer to remove dirt or scrub the surfaces with a brush and soapy water.
Is primer necessary before painting?
If the surface is rough or has stains, using a primer is a good idea. It helps the paint stick better.
How can I avoid mistakes while painting?
To avoid mistakes, work in small sections and always overlap your strokes to prevent marks.
How many coats of paint should I apply?
Usually, two coats of paint are recommended for the best coverage and finish.
What’s the best time of year to paint my house?
Spring and summer are ideal for painting because of warmer temperatures and less chance of rain.
When should I hire a professional painter?
If the project seems too big or if you don’t have the time, it’s smart to hire a professional.

