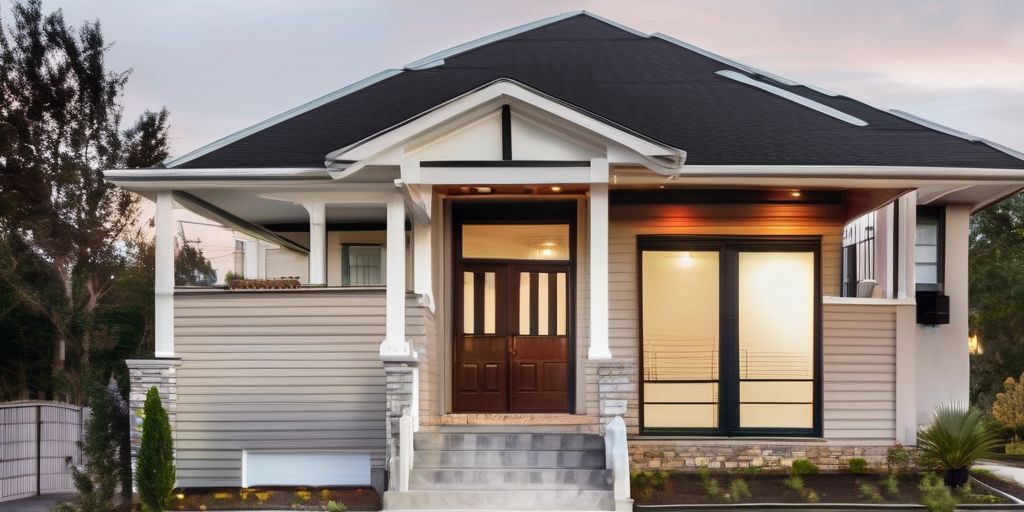
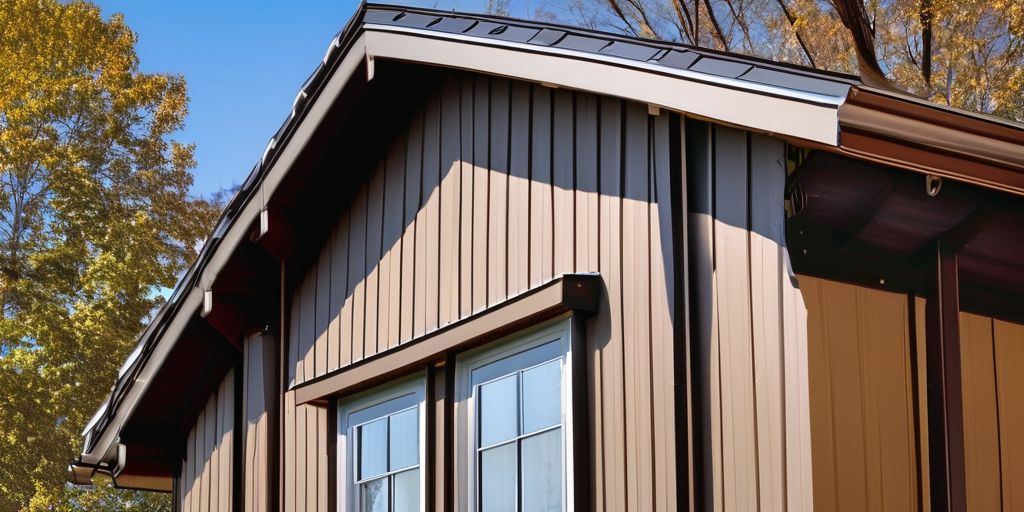
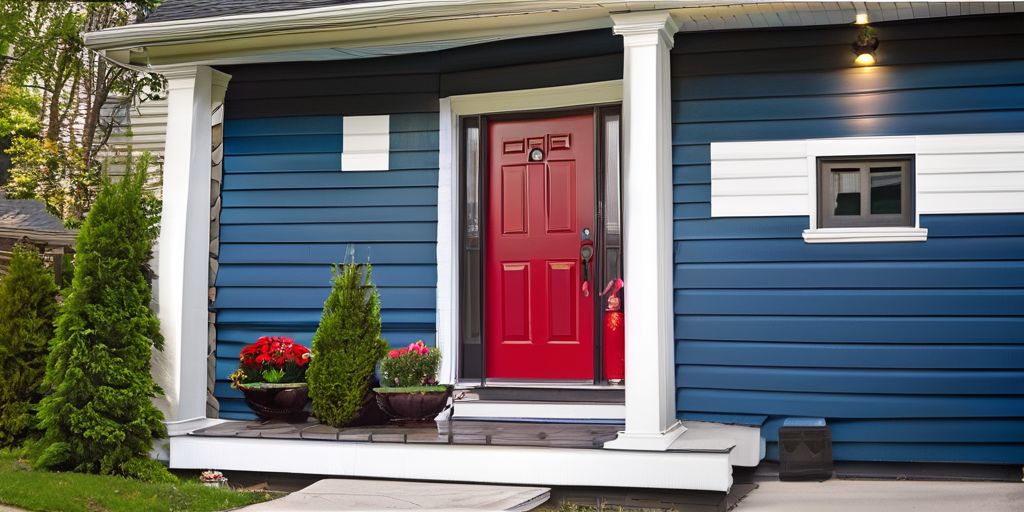
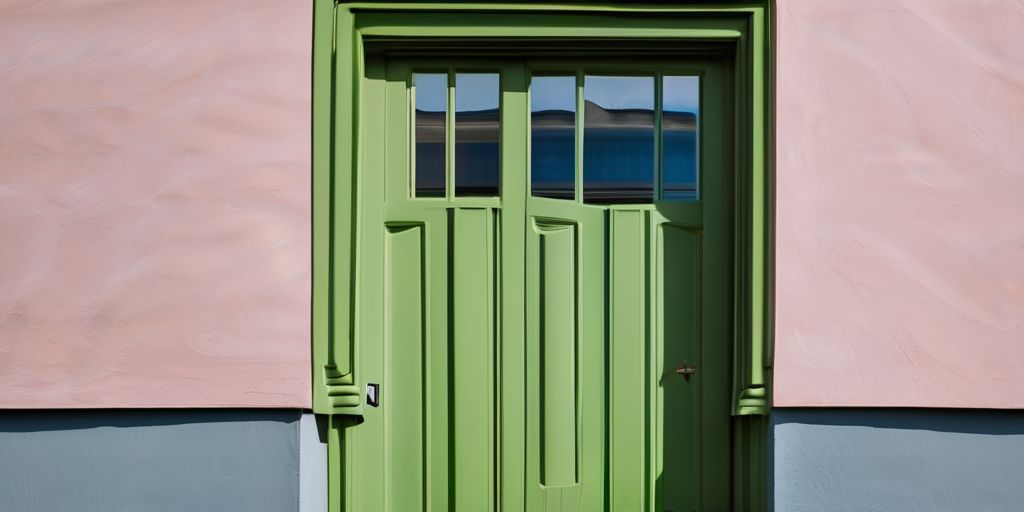
House spray painting is a popular and effective way to refresh the look of your home. Whether you’re painting the interior or exterior, mastering the techniques and tips for house spray painting is essential for a successful outcome. In this article, we’ll explore the essentials of house spray painting, including choosing the right paint, preparing your house for spray painting, mastering spray painting techniques, and troubleshooting common spray painting issues.
Key Takeaways
- Understanding the different types of paint is crucial for selecting the right one for your house.
- Consider environmental factors such as temperature and humidity when choosing paint for spray painting.
- Selecting the right color palette can significantly impact the overall look and feel of your house.
- Properly cleaning and sanding surfaces is key to achieving a smooth and durable paint finish.
- Protecting surrounding areas from overspray and paint drips is essential for a clean and efficient painting process.
Choosing the Right Paint for Your House
Understanding Different Types of Paint
When embarking on a house spray painting project, selecting the right type of paint is crucial for both the appearance and longevity of your finish. Here’s a brief guide to help you understand the different types of paint available:
- Water-based paints: Known for their quick drying time and easy cleanup with water. Ideal for living spaces due to low odor.
- Oil-based paints: Durable and resistant to wear, making them suitable for high-traffic areas. They require solvents for cleanup.
- Latex paints: A subset of water-based paints that are highly flexible and prevent cracking.
- Enamel paints: Offer a hard, glossy finish that is perfect for surfaces that endure a lot of wear.
Tip: Always check the paint can for specific application instructions and drying times to ensure the best results.
Remember, the choice of paint can also be influenced by the surface you’re painting and the desired finish. For instance, enamel paints are often recommended for trim and doors due to their durability, while latex paints are favored for walls due to their ease of application and maintenance.
Considering Environmental Factors
When selecting paint for your home’s exterior, environmental factors play a pivotal role. Here’s how to ensure your choice stands the test of time and elements:
- Climate: Different climates necessitate specific paint properties. For example, areas with high humidity require paint that resists mold and mildew, while sunny regions need UV-resistant options to prevent fading.
- Surface Material: The material of your house’s exterior influences the type of paint you should use. Masonry, wood, and vinyl all have unique needs and limitations.
- Aesthetic Preference: While durability is key, the paint should also complement your home’s style and the surrounding landscape.
Tip: Always opt for paint with a balance of aesthetic appeal and functional resilience to environmental challenges.
Advances in paint technology offer features like self-healing abilities and responsiveness to environmental changes, enhancing durability. Remember, a well-chosen paint not only beautifies but also protects your home from the rigors of the environment.
Selecting the Right Color Palette
Selecting the right color palette for your house can transform it from ordinary to extraordinary. Here’s how to make a choice that resonates with your personal style and complements your home’s architecture:
- Consider the mood you want to create. Warm colors can make spaces feel cozy and inviting, while cool colors can impart a calm and serene atmosphere.
- Think about the visual impact. Bold colors can make a statement, whereas neutral tones can serve as a versatile backdrop.
- Take into account the lighting. Natural light can significantly affect how colors appear at different times of the day.
Tip: When in doubt, test your colors! Apply small swatches in different areas to see how they look throughout the day.
Remember, the color palette you choose will set the tone for your entire home, so take your time and select hues that you’ll love for years to come.
Preparing Your House for Spray Painting
Cleaning and Sanding Surfaces
Before you begin spray painting, it’s crucial to prepare your house properly. This involves thorough cleaning and sanding of surfaces to ensure a smooth and even finish. Here are the essential steps to follow:
- Clean the surfaces using a mild detergent and water to remove dirt, grease, and grime.
- Sand the surfaces with fine-grit sandpaper to create a smooth and uniform texture for the paint to adhere to.
- Use a tack cloth to remove any dust or debris left from sanding.
Remember, the key to a successful spray painting project is in the preparation. Taking the time to clean and sand the surfaces will result in a professional-looking finish that lasts.
Protecting Surrounding Areas
Before you begin the transformative process of spray painting your house, it’s crucial to protect the surrounding areas to prevent any unwanted paint from leaving its mark where it’s not supposed to. Here’s how to safeguard your space effectively:
- Cover landscaping and garden features with drop cloths or plastic sheeting.
- Use painter’s tape to securely seal the edges around windows, doors, and trim.
- Move or cover outdoor furniture, grills, and decorative items to shield them from overspray.
- Ensure all air vents, ducts, and grills are free from blockage to maintain proper airflow and avoid paint accumulation.
Remember, taking the time to protect your surroundings not only keeps them clean but also allows for a more focused and efficient painting job.
By following these simple steps, you can create a clean and controlled environment that will lead to a more professional-looking finish. Happy painting!
Repairing Damaged Surfaces
Before you can start spray painting, it’s crucial to address any imperfections on your house’s surfaces. Repairing damaged areas ensures a smooth finish and enhances the longevity of your paint job. Here’s how to tackle common issues:
- Fill small holes with a suitable filler, ensuring it’s compatible with your exterior surface.
- For larger gaps or cracks, use a patching compound and apply it smoothly to avoid unevenness.
- Sand the repaired areas gently once dry to create a seamless base for painting.
Remember, patience is key when repairing surfaces. Allow ample time for fillers and compounds to dry completely before sanding or painting.
If you’re dealing with specialized surfaces like stucco, make sure to use the appropriate materials and techniques for repair. In some cases, such as when fixing twisted key issues or aligning cabinet latches, minor adjustments can make a big difference in the final appearance. Always prioritize safety and consider wearing protective gear when handling repair materials.
Mastering Spray Painting Techniques
Using the Correct Spray Gun
When using the spray gun, it’s important to consider the adjustable spraying patterns and the material flow control knob. These features allow you to dial in the perfect settings for different spray options. Additionally, the 4 spray nozzle sizes make spraying easier for different surfaces. It’s recommended to clean the accessories immediately after usage to maintain the quality of the spray gun. The detachable design of the spray gun makes it easy to assemble without tools and allows for easy cleaning. The ergonomic handle reduces hand fatigue, making it suitable for long-term use. The wide application of the paint spray gun includes home interior and exterior, house painting, walls, fence, wood, furniture, cabinets, decks, and DIY work. The package includes 1 paint sprayer, 1 1400ml container, 4 copper nozzles, 1 cleaning needle, 1 cleaning brush, 1 viscosity cup, 1 user manual, 1 blowing interface, and 1 cleaning interface. If you have any questions, please contact us through your order to get an answer.
Applying the Right Pressure and Speed
When applying the right pressure and speed, it’s crucial to achieve a balance that ensures proper coverage without causing drips or uneven coats. Here are some key tips to keep in mind:
- Maintain a consistent distance of 6-8 inches from the surface to ensure even application.
- Adjust the pressure according to the type of paint and the surface texture for optimal results.
- Keep the spray gun moving at a steady pace to avoid over-application in certain areas.
Remember, mastering the pressure and speed will result in a flawless finish that enhances the overall look of your house.
Achieving Smooth and Even Coats
When aiming for smooth and even coats, it’s essential to pay attention to the spray gun settings and the speed of application. Here are some key tips to achieve the best results:
- Adjust the spray gun to the appropriate pressure and speed for the type of paint being used.
- Maintain a consistent distance between the spray gun and the surface to ensure even coverage.
- Overlapping each pass by 50% will help achieve a uniform finish.
For additional guidance on achieving smooth and even coats, refer to the user manual and instructional videos provided with the spray gun. These resources offer valuable insights and practical demonstrations to help you master this essential technique.
Troubleshooting Common Spray Painting Issues
Dealing with Overspray
Dealing with [overspray](https://wepaintsiding.com/milton/) can be frustrating, but there are effective solutions to address this issue. Here are some common causes and solutions to help you tackle overspray:
Fixing Uneven Paint Distribution
Uneven paint distribution can be a frustrating issue, but with the right techniques, you can easily address it. Here are some steps to help you fix uneven paint distribution:
- Check Paint Viscosity: Ensure that the paint is not too viscous, as this can lead to uneven distribution. Dilute the paint to the appropriate viscosity to achieve a smooth finish.
- Clean Nozzle: A clogged or dirty nozzle can also cause uneven paint distribution. Regularly clean the nozzle to ensure consistent spraying.
- Test Spray Pattern: Before actual application, conduct some test spraying to evaluate the flow and spray pattern of the paint. This will help you adjust the settings for a more even distribution.
If you’re still experiencing issues with uneven paint distribution, consider replacing the nozzle for testing. Remember, achieving a smooth and even coat is essential for a professional-looking finish.
Addressing Clogging and Dripping
If you’re experiencing clogging and dripping during your spray painting process, it’s important to identify the causes and implement the right solutions. Here are some common causes and solutions to address these issues:
- Clogging: The cause may be particles or impurities in the paint, high paint viscosity, or lack of prompt cleaning. The solution is to use a cleaning needle or brush, filter and stir the paint, ensure suitable viscosity, and promptly clean the spray gun.
- Dripping Spray or Bubbles: This issue may occur due to paint viscosity, uncleaned nozzle, or incorrect nozzle selection. The solution is to dilute the paint to the appropriate viscosity, ensure nozzle cleanliness, and consider replacing the nozzle for testing.
Pro Tip: Worried about not knowing how to use the spray gun? We provide highly detailed user manuals and videos for your convenience.
Are you experiencing issues with your spray painting projects? Don’t worry, we’ve got you covered! Our team of experienced spray painters is here to help you troubleshoot common spray painting issues and achieve a flawless finish. From uneven coverage to paint drips, we have the expertise to address any problem you may encounter. With our amazing spray painting services for exterior house renewal, you can transform your home and give it a fresh, new look. Get a free quote from our experienced spray painters now and take the first step towards enhancing the beauty of your home!
In Conclusion
Spray painting is a versatile and efficient technique for transforming your home’s interior and exterior. With the right tools and techniques, you can achieve professional-quality results with ease. Remember, diluting paint and choosing the right thinner are crucial steps for a successful painting project. Embrace the art of spray painting and elevate your home decor with confidence and creativity.
Frequently Asked Questions
What type of paint is best for house spray painting?
The best type of paint for house spray painting is latex paint, as it is durable, easy to clean, and dries quickly.
How do I prevent overspray when spray painting my house?
To prevent overspray, use masking tape and plastic sheeting to cover areas that you do not want to paint. Additionally, adjust the spray gun’s pressure and speed for more control.
What should I do if the paint sprayer nozzle gets clogged?
If the paint sprayer nozzle gets clogged, use a cleaning brush or needle to remove the obstruction. You can also soak the nozzle in a cleaning solution to dissolve any dried paint.
Can I use the same paint sprayer for interior and exterior house painting?
Yes, many paint sprayers are suitable for both interior and exterior house painting. However, it’s important to adjust the settings and nozzles based on the specific requirements of each surface.
How can I achieve a smooth and even coat of paint when spray painting my house?
To achieve a smooth and even coat of paint, maintain a consistent distance between the spray gun and the surface, and overlap each pass slightly. Use a steady hand and move in a consistent pattern.
What safety precautions should I take when using a paint sprayer for house painting?
When using a paint sprayer for house painting, wear protective gear such as goggles, a mask, and gloves to prevent exposure to paint fumes and particles. Work in a well-ventilated area and follow the manufacturer’s instructions for safe use.


