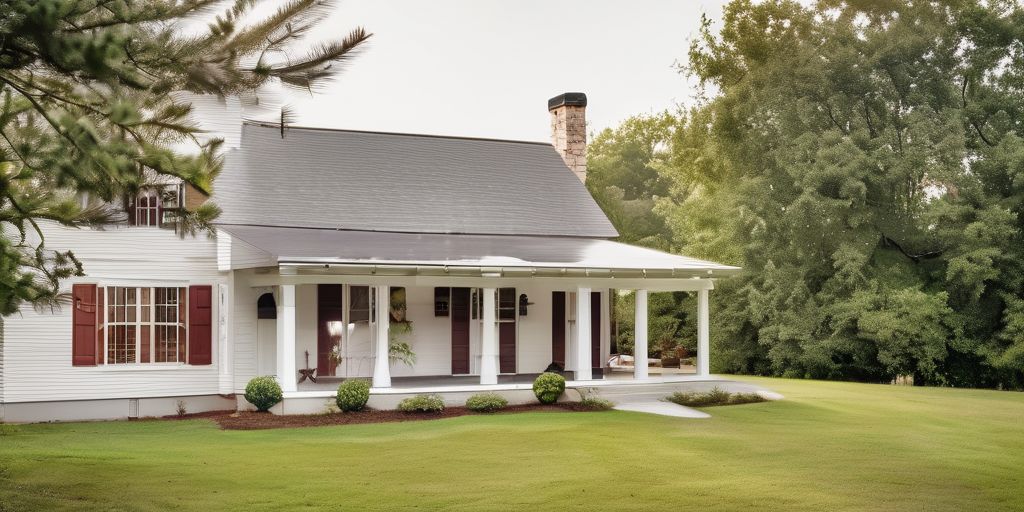
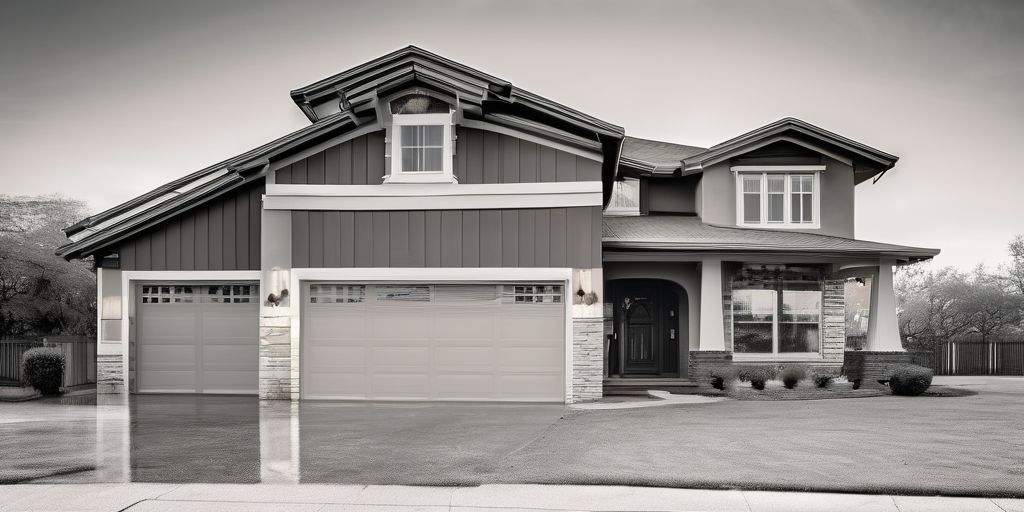
Preparing your home for an exterior spray paint job can seem like a big task, but it’s worth it. A fresh coat of paint can make your house look new and protect it from the weather. This guide will walk you through the steps to get your home ready for a flawless paint job.
Key Takeaways
- Spray painting provides a thicker and more even coat than traditional methods, improving durability and appearance.
- Proper surface preparation, including cleaning, scraping, and sanding, is essential for a successful paint job.
- Meticulous masking and protection of surrounding areas prevent unwanted paint on windows, doors, and landscaping.
- Choosing the right paint and applying it evenly ensures a professional finish that lasts longer.
- Post-painting procedures like de-masking, touch-ups, and cleanup are crucial for a polished final look.
Understanding the Benefits of Spray Painting
Thicker Coat of Paint
Spray painting allows for a thicker and more even coating compared to traditional methods. This is especially useful for smooth surfaces like aluminum or vinyl siding. The paint molecules bind more strongly, creating a durable finish. Here are some key points:
- Even and substantial coverage
- Overcomes limitations of brushes and rollers
- Ensures larger areas are covered effectively
Weather Resistant
A smooth spray-painted surface is more resistant to weather conditions. It helps in reducing dirt and debris build-up, which can prolong the lifespan of the paint. The benefits include:
- Self-cleaning properties in the rain
- Reflects harmful sun rays
- Less moisture erosion over time
Spray painting not only enhances the look of your home but also adds a layer of protection against the elements.
Essential Preparations Before Spray Painting
Cleaning the Surface
Before you start spray painting, it’s crucial to clean the surface thoroughly. This can be done using a pressure washer or by hand washing with a mild detergent. Make sure to remove all dirt, mildew, and loose paint. Allow the surface to dry completely before moving on to the next step.
Scraping and Sanding
Next, you’ll need to scrape off any peeling or flaking paint. Use paint scrapers and sanders to get rid of old caulking or paint that could prevent the new coating from adhering properly. Sand down to bare wood if necessary to ensure a smooth surface for the primer and paint.
Caulking and Filling
Fill in any gaps or cracks with caulking around windows and doors. For larger holes, use an exterior spackling compound. This step is essential for a smooth and professional finish. Make sure to tool the caulk with a wet finger and a rag for a neat application.
Proper preparation is key to a successful spray painting job. Skipping these steps can lead to poor adhesion and a less durable finish.
By following these steps, you’ll ensure that your surface is well-prepared and ready for a flawless spray paint job.
Masking and Protecting Surrounding Areas
When preparing for an exterior spray paint job, meticulous masking and protecting surrounding areas is crucial. This ensures a clean, professional finish and prevents unwanted paint on surfaces that shouldn’t be painted. Here are some essential steps to follow:
Meticulous Masking
- Use high-quality painter’s tape and plastic sheeting to cover windows, doors, and other areas you don’t want painted.
- Apply the tape carefully to ensure it sticks well and creates a tight seal.
- Use a Hand-Masker tool to make the job easier and faster.
- Double-check all masked areas to ensure there are no gaps or loose edges.
Protecting Windows and Doors
- Cover windows with plastic sheeting and secure it with painter’s tape around the edges.
- For doors, use a combination of plastic sheeting and drop cloths to cover the entire surface.
- Make sure to tape around the edges of the door frame to prevent any paint from seeping through.
Covering Landscaping
- Use drop cloths to protect bushes, flowerbeds, and lawns from paint overspray.
- Gently tie up and cover shrubs to prevent them from rubbing against fresh paint.
- Remove the protective coverings at the end of each day to avoid damaging the plants.
- Consider relocating delicate plants to temporary pots if they are in the way.
Proper preparation is essential for spray painting home exteriors, including cleaning and priming surfaces, protecting surrounding areas, and considering weather conditions.
By following these steps, you can ensure that your spray paint job looks professional and that all surrounding areas remain clean and protected.
Spray Painting Techniques for a Flawless Finish
Choosing the Right Paint
Selecting the right paint is crucial for a successful spray painting project. Opt for high-quality exterior paint designed for spray application. These paints are formulated to adhere well to various surfaces and withstand harsh weather conditions. Using top-notch paint ensures durability and a professional finish.
Building Up the Coating
Spray painting allows for the application of multiple layers of paint, resulting in a thicker and more even coating. This method is especially beneficial for smooth surfaces like aluminum siding. You can either apply several coats, allowing each to dry before adding the next, or build up the coating in one go. The key is to avoid sags or runs by maintaining a consistent technique.
Ensuring Even Application
Achieving a uniform finish requires skill and attention to detail. Keep the spray tip about 12 inches from the surface and move it steadily to avoid drips and uneven coverage. Overlap each pass by 50% to ensure complete coverage. This technique helps in maintaining a consistent and smooth finish across the entire surface.
Proper preparation, including cleaning and repairs, is essential for a successful spray painting project. Use high-quality paint and equipment, maintain consistent technique, and perform regular maintenance to extend the paint’s life.
By following these techniques, you can achieve a flawless and durable finish that enhances the beauty and longevity of your home’s exterior.
Post-Painting Procedures
Once the painting is done, there are a few important steps to ensure a perfect finish and a clean workspace. Here’s what you need to do:
De-Masking and Touch-Ups
- Carefully remove all masking materials like tape and plastic sheets. This will reveal the crisp lines and clean edges of your paint job.
- Inspect the painted surfaces for any missed spots or uneven areas. Use a small brush for touch-ups to ensure a flawless finish.
- Check for any overspray and clean it up immediately. You can speed up the process by using a heating gun to soften the paint.
Final Inspection
- Conduct a thorough inspection of the entire painted area. Look for any drips, runs, or areas that need additional coverage.
- Make sure all surfaces are uniformly covered and that the paint has adhered well.
- If you find any issues, address them promptly to maintain the quality of the job.
Cleanup and Disposal
- Clean all your tools and equipment. For stubborn paint residue, use the sprayer manufacturer’s recommended cleaning solution.
- Dispose of any leftover paint and materials responsibly. Follow local regulations for hazardous waste disposal.
- Ensure the work area is tidy and free of any debris or leftover materials.
A clean and well-inspected finish not only looks great but also ensures the longevity of your paint job. Taking the time to do these final steps will make a big difference in the overall quality of your work.
Common Challenges and How to Overcome Them
Dealing with Overspray
Overspray can be a major headache when spray painting. To prevent this, follow these steps:
- Use painter’s tape to cover areas you don’t want painted.
- Set up barriers like plastic sheeting or drop cloths.
- Adjust the spray nozzle to control the paint flow.
- Always spray in a controlled, steady motion.
If you do get overspray, clean it up immediately with a damp cloth before it dries.
Managing Preparation Time
Preparation can be time-consuming, but it’s crucial for a good paint job. Here’s how to manage your time effectively:
- Plan your project in sections to make it more manageable.
- Gather all necessary tools and materials beforehand.
- Allocate specific times for each task, like cleaning, sanding, and masking.
- Take breaks to avoid burnout but stick to your schedule.
Remember, thorough preparation leads to a smoother painting process and a better finish.
Ensuring Skillful Application
Spray painting requires skill and practice. To ensure a smooth application:
- Practice on a scrap piece of material before starting on your home.
- Keep the spray gun at a consistent distance from the surface.
- Move the spray gun in a steady, even motion.
- Apply multiple thin coats rather than one thick coat.
Patience and practice are key to mastering spray painting techniques.
Facing common challenges in home improvement can be tough, but don’t worry, we’ve got you covered. From dealing with weather issues to ensuring a smooth finish, our team has the experience to handle it all. Want to learn more about how we tackle these problems? Visit our website for detailed insights and tips.
Wrapping Up Your Exterior Spray Paint Job
Prepping your home for an exterior spray paint job might seem like a lot of work, but it’s totally worth it. By following the steps carefully, you ensure that your paint job will look fantastic and last for years. Remember, the key is in the preparation—cleaning, sanding, and masking off areas properly can make all the difference. Once the paint is on, you’ll see a smooth, even finish that not only looks great but also protects your home from the elements. So take your time, follow the steps, and enjoy the fresh, new look of your home!
Frequently Asked Questions
What are the main benefits of spray painting the exterior of a house?
Spray painting provides a thicker and more even coat, making the paint job last longer. It also makes the surface more weather-resistant, protecting it from dirt, debris, and harmful sun rays.
How should I prepare the surface before spray painting?
Start by thoroughly cleaning the surface using a pressure washer or a mild detergent. Then, scrape off any loose or peeling paint and sand the surface to make it smooth. Finally, fill any gaps or cracks with caulking or spackling compound.
What is the importance of masking and protecting surrounding areas?
Masking and protecting areas like windows, doors, and landscaping is crucial to prevent unwanted paint from getting on them. This ensures a clean and professional finish.
What techniques should I use for a flawless spray paint finish?
Choose the right paint for your surface, build up the coating in layers, and ensure an even application. It’s also important to work methodically and avoid direct sunlight while painting.
What steps should I take after spray painting?
After painting, carefully remove the masking materials and touch up any missed spots. Conduct a final inspection to ensure everything looks good, then clean up and dispose of any waste properly.
How can I overcome common challenges in spray painting?
To manage overspray, make sure to mask areas thoroughly. Plan your preparation time well to avoid rushing, and practice your spray painting technique to ensure a smooth and even application.


