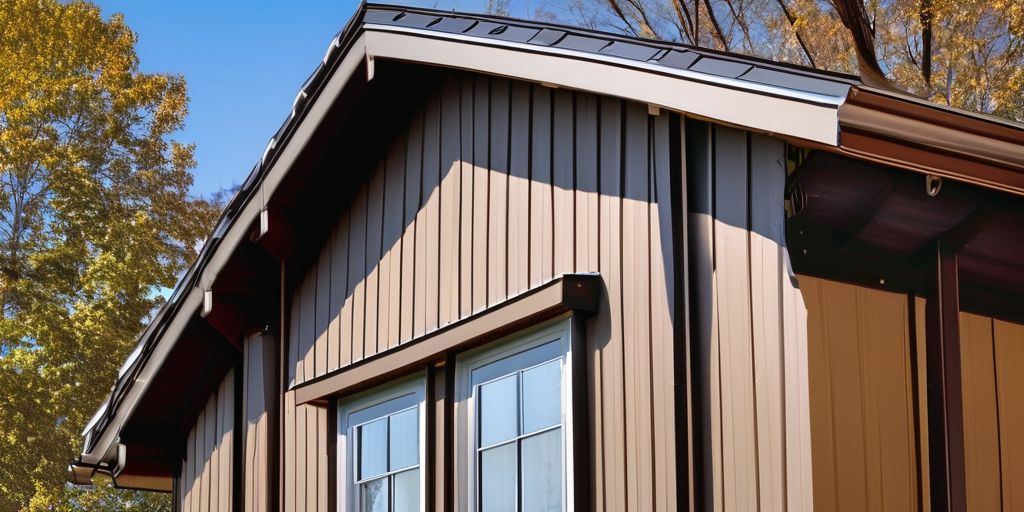
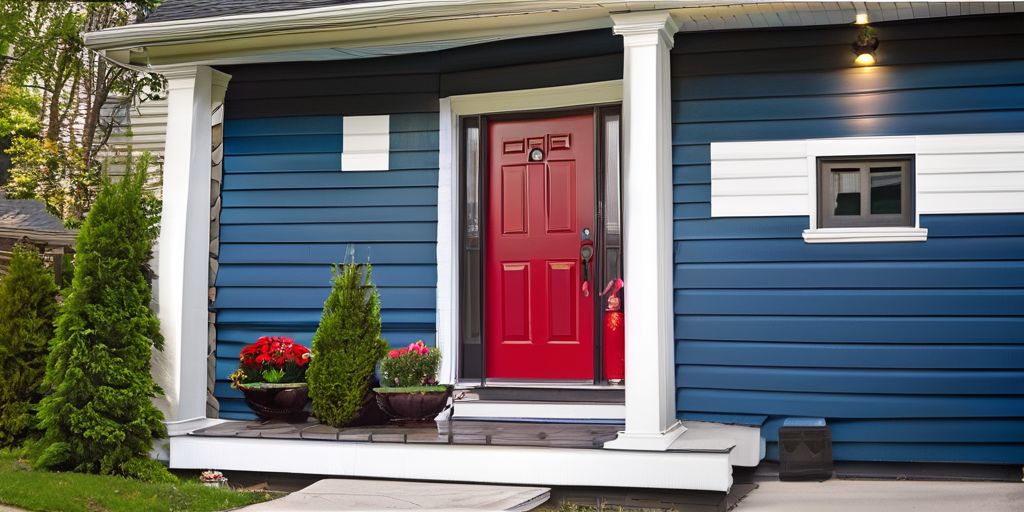
Successfully completing exterior spray painting projects in Burlington requires careful preparation, the right equipment, and effective techniques. Overcoming common obstacles is essential to achieve a professional finish and ensure the longevity of the paint job. Here are key takeaways to help you navigate through exterior spray painting challenges in Burlington projects:
Key Takeaways
- Choose high-quality paint suitable for exterior surfaces to ensure durability and longevity.
- Thoroughly clean the surface before painting to remove dirt, debris, and contaminants that can affect the finish.
- Monitor weather conditions to avoid painting in extreme heat, cold, or high humidity.
- Select the appropriate spray gun for the project to achieve even coverage and minimize overspray.
- Wear protective gear, including goggles, gloves, and a mask, to safeguard against paint fumes and particles.
Preparation Tips
Choosing the Right Paint
Selecting the appropriate paint for an exterior spray painting project is crucial. The paint you choose must be suitable for the material of the surface and capable of withstanding the local climate. Durability and finish are key factors to consider.
- Water-based paints are easy to clean and environmentally friendly.
- Oil-based paints provide a durable finish that stands up to harsh weather.
- Acrylic paints are versatile and fade-resistant, making them a popular choice for exterior projects.
When considering the vast array of colors, it’s important to think about how the paint will look in different lighting conditions and how it will age over time. A good practice is to test a small area before committing to a large surface.
Remember, the right paint can significantly enhance the longevity and appearance of your project.
Always check the paint’s specifications for its resistance to common issues such as mold, mildew, and UV rays. This is especially pertinent in areas like Burlington, where the weather can be quite variable.
Surface Cleaning
Before the spray painting process begins, it’s crucial to ensure that the surface is impeccably clean. Dirt, grease, and any flaking paint must be removed to provide a smooth canvas for the new coat of paint. Here’s a simple guide to effective surface cleaning:
- Start by washing the surface with a mild detergent solution to remove any superficial dirt.
- For tougher stains, consider using a specialized cleaning agent that is appropriate for the surface material.
- Rinse the surface thoroughly with clean water to remove any cleaning residue.
- Allow the surface to dry completely before proceeding with the painting process.
Proper surface preparation is the cornerstone of a successful painting project. Without it, even the highest quality paint can fail to adhere properly, leading to a subpar finish. Remember, patience and attention to detail during this stage can save time and effort in the long run.
It’s also worth noting that some surfaces may require sanding or the use of a pressure washer for optimal cleaning. However, always ensure that the chosen cleaning method does not damage the surface.
While not directly related to surface cleaning, it’s interesting to note that Burlington’s Royal Botanical Gardens could serve as a serene backdrop for color inspiration, though this should not distract from the task at hand.
Weather Considerations
When tackling exterior spray painting projects in Burlington, understanding and planning around the local weather patterns is crucial. Always check the forecast before beginning a project to ensure optimal conditions. Here are some key considerations:
- Temperature: Paint adheres best within a specific temperature range. Too cold, and the paint may not dry properly; too hot, and it may dry too quickly.
- Humidity: High humidity can prolong drying times and affect the finish. Aim for a day with low humidity if possible.
- Wind: A calm day is ideal. Wind can cause overspray and debris to stick to wet paint.
Remember, sudden weather changes can impact your project’s success. It’s essential to have a contingency plan in case of unexpected rain or wind gusts.
In the Burlington area, landmarks like the Royal Botanical Gardens can provide a natural windbreak for nearby painting projects, but always be prepared with tarps and covers just in case. By being mindful of these factors, you can ensure a smooth and successful painting experience.
Equipment Essentials
Spray Gun Selection
Selecting the right spray gun is a pivotal step in ensuring a successful exterior spray painting project. Choosing a spray gun that is compatible with the type of paint you will be using is essential. Different spray guns are designed for different viscosity levels and types of paint, so it’s important to match the gun to the paint specifications.
- HVLP (High Volume Low Pressure) Guns: Ideal for detailed work and smaller surfaces.
- Airless Spray Guns: Suitable for large areas and thicker paints.
- LVLP (Low Volume Low Pressure) Guns: Good for beginners and DIY projects due to their ease of use.
Ergonomics should also be considered when selecting a spray gun. A comfortable grip and easy trigger action can reduce fatigue during long painting sessions. Additionally, look for a spray gun with adjustable pressure and spray patterns to give you more control over the application.
Remember, proper maintenance of your spray gun is crucial for consistent performance and longevity. Regular cleaning and part replacement can prevent issues such as clogging and uneven spray patterns.
Protective Gear
When undertaking an exterior spray painting project, safety should never be compromised. Protective gear is essential to shield oneself from the potential hazards associated with spray painting. Here are some key items to include in your safety kit:
- Gloves: Protect your hands from paint and solvents.
- Long sleeves and pants: Cover your skin to prevent irritation from overspray.
- Safety goggles: Keep your eyes safe from harmful fumes and particles.
- A mask: Filter out harmful vapors and dust.
Remember, wearing the correct protective gear not only ensures your safety but also contributes to the quality of your work by preventing contamination.
It’s important to select gear that is comfortable and allows for a full range of motion, so your focus remains on the task at hand. Regular safety audits can help maintain a high standard of safety throughout the project.
Masking Techniques
Effective masking is crucial for achieving clean lines and protecting surfaces not intended to be painted. Proper planning is essential to ensure that the masking process contributes to a reliable outcome. Here are some tips to consider:
- Use high-quality painter’s tape for best results. The tape should adhere well to the surface without leaving residue upon removal.
- For rough or uneven surfaces, a stronger adhesive tape is recommended to prevent paint bleed.
- Remember to press down the edges of the tape firmly to seal it against the surface.
- Cover larger areas with plastic sheeting or drop cloths, securing the edges with tape.
Masking should not be rushed; take your time to cover all necessary areas thoroughly. This attention to detail will pay off when you remove the tape to reveal sharp, clean paint lines.
When working on exterior projects, it’s important to consider the surrounding environment. For instance, in Burlington, the Royal Botanical Gardens could be a nearby area where extra care is needed to prevent overspray and protect the natural beauty.
Lastly, always review the manufacturer’s instructions for the recommended duration the tape can be left in place. This will help avoid damage to the surface when the tape is removed.
Techniques for Success
Proper Spraying Distance
Maintaining the correct spraying distance is crucial for achieving a smooth and even finish. Here are some guidelines to ensure optimal results:
- Keep a consistent distance between the spray gun and the surface. This prevents the paint from running or creating uneven layers.
- Aim for a distance of 10-12 inches from the surface. Adjust based on the paint’s viscosity and the spray gun’s power.
- Practice on a scrap piece of material to find the ideal distance for your specific project.
Remember, too close can cause drips, and too far can result in a thin coat that doesn’t adhere well.
By adhering to these simple rules, you can avoid common pitfalls and ensure a professional-looking finish. It’s all about finding that sweet spot where the paint applies evenly without any complications.
Even Coat Application
Achieving an even coat application is crucial for a professional finish in any exterior spray painting project. Here are some tips to ensure uniformity:
- Start with a consistent spray pattern by testing on a scrap piece of material before painting the actual surface.
- Maintain a steady hand and a constant speed to avoid uneven layers of paint.
- Overlap each pass by about 50% to ensure complete coverage without heavy buildup.
Remember, patience is key. Rushing the process can lead to drips and uneven coverage, compromising the final look.
It’s also important to regularly check the spray gun’s nozzle for any signs of clogging, as this can disrupt the spray pattern and affect the coat’s evenness. If you’re painting near Burlington’s waterfront, be mindful of the additional challenges posed by the lakeside winds, which can cause the paint to dry unevenly.
Overcoming Wind Challenges
Spray painting outdoors can be particularly challenging when dealing with the unpredictable nature of wind. To ensure a smooth and even finish, consider the following strategies:
- Position barriers to block wind and protect the paint area. These can be temporary structures like plywood or canvas sheets.
- Adjust the spray gun settings to increase the viscosity of the paint, which can help it adhere better in windy conditions.
- Schedule painting during the least windy times of day, typically early morning or late evening.
Remember, patience is key when painting in windy conditions. It’s better to wait for a calm moment than to rush and compromise the quality of your work.
In some cases, you might need to postpone the painting project if the wind is too strong. Safety should always come first, and high winds can create hazardous conditions not just for painting, but for the workers as well.
Troubleshooting Solutions
Clogged Nozzle Fixes
A clogged nozzle can turn a spray painting project into a frustrating ordeal. To ensure a smooth painting process, follow these simple steps:
- Firstly, always start with a clean nozzle. Before beginning your painting session, make sure to remove any residue from previous uses.
- If a clog occurs, stop painting immediately. Remove the nozzle and soak it in a solvent suitable for the type of paint you’re using.
- After soaking, use a soft brush or a toothpick to gently clear the nozzle opening.
- Rinse the nozzle with water (for water-based paints) or an appropriate solvent (for oil-based paints) before reattaching it to the spray gun.
Remember, regular maintenance of your spray equipment can prevent most clogs from occurring in the first place.
For persistent clogs, consider using a nozzle needle specifically designed for clearing blockages. This tool can be gently inserted into the nozzle to remove any obstructions without damaging the delicate components.
Drip Prevention
Preventing drips is crucial for a professional-looking finish when spray painting exteriors. Here are some tips to help you avoid this common issue:
- Maintain a consistent spray pattern by keeping the spray gun at a uniform distance from the surface.
- Adjust the paint’s viscosity to suit the temperature and humidity; this can be done by following the manufacturer’s instructions.
- Use a controlled spray technique, moving the gun smoothly and avoiding abrupt stops that can cause drips.
Remember, patience is key. Rushing the job increases the likelihood of drips and imperfections.
Additionally, consider the following steps to ensure a drip-free finish:
- Test your spray pattern on a piece of cardboard before painting the actual surface.
- Overlap each pass by about 50% to avoid heavy application that can lead to drips.
- Clean the nozzle regularly to prevent clogging, which can disrupt the spray pattern and cause drips.
Blending Overlaps
Achieving a seamless finish when spray painting involves careful blending of overlaps. This is crucial to avoid visible lines where the paint layers meet. Proper technique is key to a flawless appearance.
- Start by slightly overlapping each pass with the spray gun to ensure full coverage.
- Maintain a consistent angle and distance to avoid heavier application on the edges.
- Adjust the spray gun’s pressure to match the paint’s viscosity for even application.
Remember, the goal is to merge each new pass with the previous one so that the transition is imperceptible.
For best results, practice the blending technique on a spare piece of material before applying it to your main project. This allows you to get a feel for the right movement and speed. Always keep the spray gun moving to prevent accumulation of excess paint, which can lead to drips and uneven texture.
Encountering issues with your home’s exterior? Our ‘Troubleshooting Solutions’ section is packed with expert advice to tackle common problems. But why stop there? Visit our website for a comprehensive range of professional painting services that will transform your property’s appearance. From aluminum siding to stucco, our skilled team has you covered. Don’t settle for a faded facade; click through to discover how we can revitalize your home with a fresh, durable coat of paint. Your stunning home makeover is just a click away—visit us now!
Conclusion
In conclusion, overcoming exterior spray painting obstacles in Burlington projects requires a combination of skill, patience, and the right tools. By addressing common challenges such as weather conditions, surface preparation, and equipment maintenance, painters can achieve professional results and ensure the longevity of their work. Remember, with determination and a positive attitude, any obstacle can be conquered. Happy painting!
Frequently Asked Questions
What type of paint is best for exterior spray painting in Burlington projects?
For exterior spray painting in Burlington projects, it is recommended to use acrylic or latex paint that is suitable for outdoor use and can withstand the local weather conditions.
How should I prepare the surface before spray painting?
Before spray painting, the surface should be cleaned thoroughly to remove dirt, dust, and debris. It is also important to sand and prime the surface to ensure proper adhesion of the paint.
What weather conditions are ideal for exterior spray painting in Burlington projects?
Ideal weather conditions for exterior spray painting in Burlington projects include low humidity, moderate temperature, and minimal wind. Avoid painting in extreme heat or cold.
What type of spray gun is recommended for exterior painting projects?
For exterior painting projects, a high-volume low-pressure (HVLP) spray gun is recommended as it provides better control and coverage, especially for larger surfaces.
How can I prevent drips and runs while spray painting?
To prevent drips and runs while spray painting, ensure that you maintain the proper spraying distance, use even strokes, and avoid overloading the surface with paint.
How do I fix a clogged nozzle on the spray gun?
To fix a clogged nozzle on the spray gun, you can try cleaning it with a cleaning solution or a pin to remove any dried paint or debris that may be blocking the nozzle.


