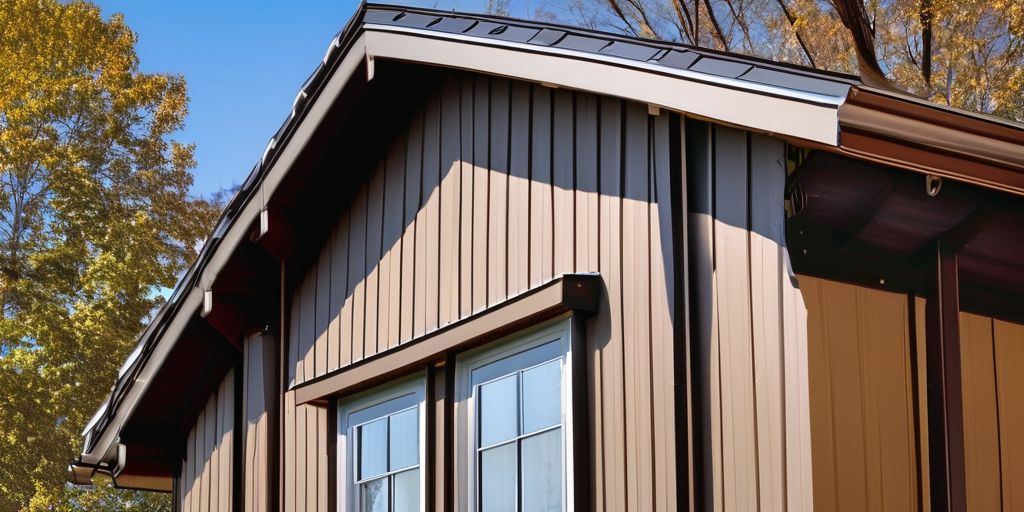
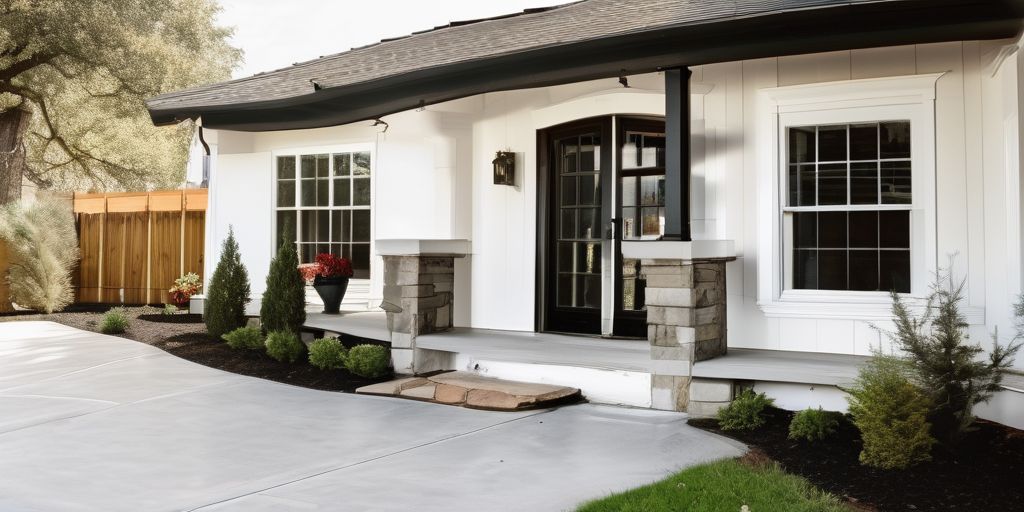
Painting aluminum siding can be a rewarding DIY project, but it requires the right tools, techniques, and safety measures to ensure a professional finish and long-lasting results. Whether you’re using a roller or a sprayer, choosing the appropriate equipment and following best practices are crucial. This article will guide you through the essential tools, paint selection, application techniques, and maintenance tips for painting aluminum siding.
Key Takeaways
- Having the necessary tools ready before starting your aluminum siding painting project can save you time and frustration.
- Choosing high-quality exterior paint and the right primer is crucial for the durability and appearance of your paint job.
- Using the correct roller frame, cover, and technique can make a significant difference in the finish of your painted siding.
- Spray painting requires careful preparation and the right equipment for a smooth, even finish.
- Safety measures, such as using drop cloths and painter’s tape, are essential to protect your surroundings and ensure clean edges.
Essential Tools for Preparing Aluminum Siding
Preparing aluminum siding for painting is a crucial step to ensure a long-lasting and smooth finish. Below are the essential tools you’ll need for this project.
Pressure Washing for a Clean Surface
A clean surface is vital for paint adhesion. Using a pressure washer helps remove dirt, grime, and old paint. Make sure to:
- Use a garden hose or pressure washer
- Start from the top and work your way down
- Allow the siding to dry completely before moving on to the next step
Sanding for Smoothness
Sanding the aluminum siding ensures a smooth surface for the paint to adhere to. You’ll need:
- Power sander
- 80 grit sandpaper for initial sanding
- 220 grit sandpaper for finishing touches
Remember to sand in the direction of the siding to avoid scratches.
Priming for Better Paint Adhesion
Priming is essential for better paint adhesion and durability. Use an oil-based primer for best results. Steps include:
- Apply the primer with a paintbrush or roller
- Allow it to dry completely
- Inspect for any missed spots and touch up as needed
Effective tools and proper preparation are key to a successful aluminum siding painting project.
Choosing the Right Paint and Primer
Oil-Based Primer vs. Acrylic Latex Paint
When it comes to painting aluminum siding, selecting the right primer and paint is crucial. Oil-based primers are excellent for sealing and providing a strong base, especially on older or chalky surfaces. On the other hand, acrylic latex paint is more flexible and resistant to cracking, making it a popular choice for exterior projects.
Selecting High-Quality Exterior Paint
Choosing high-quality exterior paint can make a significant difference in the longevity and appearance of your aluminum siding. Look for paints that offer UV protection and are resistant to mildew and fading. High-gloss options usually range from $50–$90 per gallon, but the investment is worth it for a durable finish.
Why Bonding Primer is Important
A bonding primer is essential for ensuring that the paint adheres well to the aluminum surface. This type of primer creates a uniform area for the paint to stick to, which is especially important if you have repaired areas. Make sure to match your primer to your paint; for example, if you’re using acrylic latex paint, opt for an acrylic resin primer.
Proper preparation and the right choice of materials can make your aluminum siding painting project a success. Always consult professionals for advice if you’re unsure about the best products to use.
Roller Application Techniques
Choosing the Right Roller Frame and Cover
Selecting the appropriate roller frame and cover is crucial for a smooth and efficient painting process. A standard 9-inch roller with a synthetic core and a 3/8-inch nap is a classic choice for most aluminum siding projects. Consider the following tips:
- Test the core by pressing down on each side; it should be firm.
- Opt for quality brands like Ace and Shur-Line for reliable performance.
- Use mini paint roller frames for working around small spaces.
Using an Extension Pole for Hard-to-Reach Areas
An extension pole can make painting hard-to-reach areas much easier and safer. Here are some benefits:
- Reduces the need for ladders, enhancing safety.
- Provides better leverage and control.
- Allows for a more even application of paint.
For the best results, apply flat paint using a sprayer and then use a roller for touch-ups and detailed work.
Loading Your Roller Evenly with Paint
Properly loading your roller with paint is essential for a uniform finish. Follow these steps:
- Pour paint into a roller tray until the well is about half full.
- Dip the roller into the paint, then roll it back and forth on the tray’s ridged area to evenly distribute the paint.
- Ensure the roller is fully covered but not dripping.
Applying paint evenly will help you achieve a professional-looking finish and minimize the risk of drips and streaks.
Spray Painting Aluminum Siding
Selecting the Appropriate Sprayer
When it comes to applying a fresh coat to your aluminum siding, selecting the right sprayer is crucial for a flawless finish. Airless paint sprayers are often the go-to choice for their efficiency and even coverage. Here’s what to consider:
- The type of sprayer: Airless sprayers are preferred for their ability to provide a smooth, even coat.
- The size of the project: Larger projects may require a more powerful sprayer.
- Ease of use: Look for sprayers that are easy to handle and clean.
Advantages of Airless Paint Sprayers
The spray technique for aluminum siding offers a more uniform and often quicker application with the potential for a higher quality finish, depending on the sprayer and technique used. Some advantages include:
- Uniform coverage: Achieve a consistent finish without brush marks.
- Speed: Complete the job faster compared to traditional methods.
- Versatility: Suitable for various types of paint and primer.
Step-by-Step Guide to Spray Painting
- Prepare the surface: Clean the siding thoroughly and repair any damage. This will help the paint adhere better and last longer.
- Choose the right paint and primer: A high-quality acrylic latex paint is often recommended.
- Protect surrounding areas: Use drop cloths and painter’s tape to avoid overspray.
- Test the sprayer: Before starting, test the sprayer on a small area to ensure even application.
- Maintain a consistent distance: Keep the sprayer at a consistent distance and angle to the siding to achieve an even coat.
- Apply multiple coats: For the best results, apply multiple thin coats rather than one thick coat.
An exterior painter would emphasize the importance of a clean and smooth surface to ensure the best possible adhesion and finish.
Safety Tips and Best Practices
Protecting Your Surroundings with Drop Cloths
Before you start painting, it’s crucial to protect your surroundings. Use drop cloths to cover plants, furniture, and any other items that you don’t want to get paint on. This simple step can save you a lot of cleanup time later. Make sure the drop cloths are securely fastened to prevent them from moving around.
Using Painter’s Tape for Clean Edges
Painter’s tape is essential for achieving clean, professional-looking edges. Apply the tape along the edges of windows, doors, and trim. Press down firmly to ensure it sticks well and prevents paint from seeping underneath. Remove the tape carefully after the paint has dried to avoid peeling off any paint.
Safety Gear You Should Wear
Wearing the right safety gear is vital for your protection. Here’s a list of essential items:
- Safety goggles to protect your eyes from paint splatters and debris.
- Gloves to keep your hands clean and safe from chemicals.
- A mask to avoid inhaling paint fumes.
- Non-slip boots to prevent accidents, especially when climbing ladders.
Remember, patience and attention to detail are your best tools for a flawless finish.
By following these safety tips and best practices, you can ensure a smooth and safe painting project.
Maintaining Your Painted Aluminum Siding
Maintaining your painted aluminum siding is crucial for preserving its appearance and longevity. Routine maintenance can help you avoid costly repairs and keep your home looking fresh.
Regular Cleaning Tips
- Use a mild detergent mixed with water to clean the siding.
- Employ a soft-bristle brush or sponge to scrub away dirt and grime.
- Rinse thoroughly with a garden hose to remove any soap residue.
- Avoid using high-pressure washers as they can damage the paint.
Regular cleaning not only enhances the look of your siding but also helps in identifying any potential issues early on.
Touch-Up Techniques
- Inspect your siding regularly for any chips or scratches.
- Lightly sand the affected area to smooth out any rough edges.
- Apply a small amount of primer to the sanded area.
- Once the primer is dry, use a matching exterior paint to touch up the spot.
- Allow the paint to cure for at least two hours before exposing it to the elements.
When to Repaint
- Fading: If the color of your aluminum siding starts to fade or look weathered, a simple repaint will restore it to its former glory.
- Peeling: When the paint starts to peel off your aluminum siding, you should apply a new coat of paint after sanding down the material.
- Every 5-10 years: Depending on the quality of the paint and the environmental conditions, you may need to repaint your siding every 5-10 years.
By following these tips, you can ensure that your aluminum siding remains in excellent condition for years to come.
Maintaining your painted aluminum siding is essential to keep your home looking fresh and vibrant. Regular cleaning and timely touch-ups can extend the life of your paint job and protect your siding from the elements. For expert advice and professional services, visit our website today!
Conclusion
Embarking on an aluminum siding painting project can be a rewarding DIY endeavor, especially when you have all the essential tools and equipment ready. From pressure washers and sanders to high-quality rollers and brushes, each tool plays a crucial role in achieving a professional finish. Remember to choose the right primer and paint for the best results. With careful preparation and the right techniques, your aluminum siding will look as good as new, adding value and curb appeal to your home. Happy painting!
Frequently Asked Questions
What tools do I need to prepare aluminum siding for painting?
You’ll need a garden hose or pressure washer, power sander, 80 and 220 grit sandpaper, paint tray, paintbrush, paint roller brush, and a power washer. Additionally, an oil-based primer and acrylic latex exterior paint are essential.
What type of primer should I use for aluminum siding?
An oil-based primer is recommended for aluminum siding as it provides better adhesion for the topcoat paint.
Can I use a roller to paint aluminum siding?
Yes, you can use a roller to paint aluminum siding. Ensure you have a high-quality roller frame and cover suitable for the type of paint and texture of your siding.
Is spray painting better than using a roller for aluminum siding?
Spray painting can offer a more uniform finish and is generally faster than using a roller. However, it requires careful preparation and the right equipment, such as an airless paint sprayer.
What safety gear should I wear when painting aluminum siding?
You should wear safety glasses, gloves, a mask or respirator, and protective clothing to safeguard against paint fumes and debris.
How often should I repaint my aluminum siding?
Aluminum siding should be repainted every 5-10 years, depending on the quality of the previous paint job and environmental factors.


