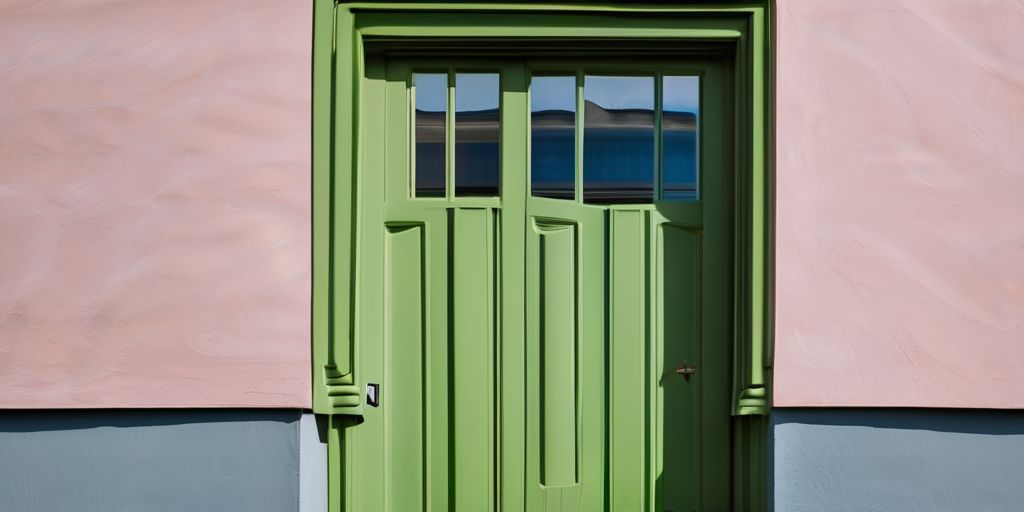
Painting the outside of your home can make it look new and fresh. But not all surfaces are good for painting. Some materials can cause problems that make the paint job look bad or not last long. Knowing what surfaces to avoid can save you time and money.
Key Takeaways
- Painting over wood siding can be tricky due to moisture and the need for proper preparation.
- Brick walls should often be left unpainted to avoid breathability issues and efflorescence.
- Vinyl siding can warp with heat and may not hold paint well.
- Stucco surfaces can crack and peel, making them hard to paint.
- Metal surfaces need special care to prevent rust and ensure the paint sticks.
Wood Siding: The Challenges of Painting Over Natural Wood
Painting wood siding can be tricky due to its natural properties. Proper preparation is key to achieving a lasting finish. Here are some challenges you might face:
Moisture Issues
Wood naturally absorbs moisture, which can lead to paint peeling and bubbling. To avoid this, ensure the wood is completely dry before painting. Moisture meters can help you check the wood’s dryness. Also, consider using a moisture-resistant primer.
Surface Preparation
Preparing the wood surface is crucial. Start by cleaning the wood to remove dirt and mildew. Sanding the surface helps the paint adhere better. If the old paint is peeling, you might need to strip it off. Tools like shrouded grinders or chemical strippers can be useful. After stripping, smooth the wood with sandpaper.
Choosing the Right Paint
Selecting the right paint is essential for wood siding. Oil-based paints are durable and water-resistant, making them a good choice for wood. However, latex paints are more flexible and less likely to crack. Consider the climate and the wood type when choosing your paint.
Brick Walls: Why Some Masonry Should Stay Bare
Breathability Concerns
Brick walls need to breathe. When you paint over them, you can trap moisture inside. This can lead to peeling paint, mold, and mildew. It’s best to let brick walls stay bare to avoid these issues.
Efflorescence Problems
Efflorescence is a white, powdery substance that appears on brick walls. It happens when water moves through the brick and brings salts to the surface. If you paint over it, the paint can bubble and peel. To keep your walls looking good, it’s better to leave them unpainted.
Special Paint Requirements
If you do decide to paint brick, you need special paint. Regular paint won’t stick well and can cause problems. Masonry paint is designed to handle the unique needs of brick surfaces. But remember, even with the right paint, you might still face issues like moisture and efflorescence.
Vinyl Siding: The Risks of Painting Over Plastic
Painting vinyl siding might seem like a quick way to refresh your home’s look, but it comes with its own set of challenges. Understanding these risks can save you time and money in the long run.
Stucco Surfaces: When Texture Becomes a Problem
Painting stucco surfaces can be tricky due to their unique texture. Proper preparation is key to achieving a smooth finish. Here are some challenges you might face:
Cracking and Peeling
Stucco is prone to cracking and peeling, especially if not properly maintained. Over time, moisture can seep into the cracks, causing the paint to bubble and peel. To avoid this, make sure to fill any cracks and allow them to dry completely before painting.
Moisture Penetration
Moisture is a big enemy when it comes to painting stucco. If the surface is damp, the paint won’t adhere properly, leading to a blotchy and uneven finish. Always ensure the stucco is dry before you start painting. Painting in the rain or on a humid day is never a good idea.
Surface Preparation
Before painting, it’s crucial to clean the stucco thoroughly. Any buildup of dirt or debris can create texture in the finished product, which can be really off-putting. Pressure washing is a good option, but if you choose not to, make sure to clean all stubborn stains and dirt out of the cracks and crevices. This will help you avoid paint drips and ensure a smooth, even color.
Remember, taking the time to prepare your stucco surface properly will result in a more durable and attractive finish.
By addressing these issues, you can achieve a beautiful and long-lasting paint job on your stucco surfaces.
Metal Surfaces: Rust and Other Complications
Painting metal surfaces can be tricky due to several unique challenges. Rust prevention is crucial, as metal is prone to rust when exposed to moisture. Before painting, make sure to clean the surface thoroughly and apply a metal primer to stop rust from forming.
Rust Prevention
To prevent rust, follow these steps:
- Clean the metal surface to remove any dirt, grease, or old paint.
- Sand the surface to create a smooth base for the paint to stick to.
- Apply a metal primer to protect against rust.
Surface Priming
Priming is essential for metal surfaces. Use a primer specifically designed for metal to ensure the paint adheres well and lasts longer. This step is especially important if the metal has been exposed to the elements.
Paint Selection
Choosing the right paint is key. Opt for paints that are formulated for metal surfaces. These paints are designed to withstand the elements and provide a durable finish. Oil-based paints are often recommended for their water-repellent properties.
Remember, taking the time to properly prepare and prime your metal surfaces will result in a longer-lasting and more attractive paint job.
Concrete: The Pitfalls of Painting Porous Materials
Painting concrete surfaces can be tricky due to their porous nature. Concrete tends to retain moisture, which can lead to bubbling and peeling of the paint over time. This is especially true in areas with high humidity or frequent rain.
Moisture Retention
Concrete’s porous structure means it can hold onto moisture for a long time. This can cause the paint to bubble and peel, making your hard work look uneven and blotchy. To avoid this, make sure the concrete is completely dry before you start painting.
Surface Cleaning
Any buildup of dirt or other debris on the surface can create texture in the finished product, which can be really off-putting for some people. If you choose not to pressure wash before painting, make sure that you thoroughly clean all of those stubborn stains and dirt out of all cracks and crevices to avoid getting paint drips on those areas. If this happens, your new color might come out looking blotchy and uneven, which will look pretty bad considering how hard you worked to get that just-right shade!
Sealant Use
Using a sealant can help protect the paint and the concrete. A good sealant will keep moisture out and make the paint last longer. Make sure to choose a sealant that is compatible with both the concrete and the paint you plan to use.
Remember, taking the time to properly prepare your concrete surface can save you a lot of headaches down the road. Proper preparation is key to a long-lasting and beautiful paint job.
Weathered Wood: Why Age Matters
Weathered wood presents unique challenges when it comes to painting. Older wood can have structural issues that newer wood doesn’t, making it essential to assess its condition before starting any painting project. Here are some key considerations:
Structural Integrity
Over time, wood can weaken and become less stable. This can lead to problems like warping, cracking, and even breaking. It’s crucial to inspect the wood for any signs of damage. Look for:
- Cracks and splits
- Warping or bending
- Soft or spongy areas
Addressing these issues beforehand can save you a lot of trouble down the line.
Surface Cleaning
Before painting, the wood must be thoroughly cleaned. Dirt, peeling or flaking paint, and other debris can prevent the new paint from sticking properly. Make sure to:
- Remove all loose paint
- Clean the surface with a suitable cleaner
- Sand the wood to create a smooth surface
This will help ensure that your paint job lasts longer and looks better.
Paint Compatibility
Not all paints are suitable for weathered wood. It’s important to choose a paint that can adhere well to the older surface. Look for paints that are specifically designed for exterior wood and consider the following:
- Water-based paints are often a good choice as they are low in VOCs and can last 4 to 8 years, depending on the wood’s condition and paint quality.
- Innovations in eco-friendly and sustainable exterior paints focus on weatherproofing for longevity and using recycled materials for sustainability.
Proper preparation and the right choice of paint can make all the difference when dealing with weathered wood. Taking the time to do it right will pay off in the long run.
Previously Painted Surfaces: The Importance of Proper Prep
When it comes to painting over previously painted surfaces, proper preparation is key. Without it, your new paint job might not last as long or look as good as it should. Here are some essential steps to follow:
Peeling Paint
- Scrape or sand any loose or peeling paint. This ensures the new paint adheres well.
- Use a wire brush for stubborn areas.
- Make sure the surface is smooth before moving on.
Surface Cleaning
- Remove contaminants like mold, mildew, grime, grease, and oil.
- Wash the surface thoroughly with detergent and water.
- Consider using a pressure washer for a deep clean.
Priming Necessities
- Apply a primer, especially if you’re changing the paint type or drastically altering the color.
- Priming helps the new paint stick better and last longer.
- Choose a primer that suits the surface material.
A well-prepared surface not only makes the painting process smoother but also contributes significantly to the final outcome.
By following these steps, you’ll ensure a smooth and long-lasting paint job. If you’re unsure about any step, it might be a good idea to consult an exterior painter for professional advice.
Decks and Fences: Special Considerations for Horizontal Surfaces
Painting decks and fences requires special attention due to their horizontal surfaces. Foot traffic wear is a major concern for decks. Constant walking can quickly wear down the paint, leading to frequent touch-ups. To minimize this, choose a durable paint specifically designed for high-traffic areas.
Foot Traffic Wear
- Opt for high-traffic paint to withstand constant use.
- Regularly inspect and touch up worn areas to maintain appearance.
Moisture Exposure
Horizontal surfaces like decks and fences are more exposed to moisture. This can lead to paint peeling and wood damage. Ensure you use a water-resistant paint and apply a sealant for extra protection.
- Use water-resistant paint to prevent peeling.
- Apply a sealant to protect the wood from moisture.
Surface Preparation
Proper surface preparation is crucial. Clean the surface thoroughly to remove dirt and old paint. Sand any rough areas to ensure the new paint adheres well. This step is essential for a long-lasting finish.
- Clean the surface to remove dirt and old paint.
- Sand rough areas for better paint adhesion.
Remember, following the right safety protocols and best practices in exterior painting can make a significant difference in the longevity and appearance of your painted surfaces.
Roofing Materials: Why Some Surfaces Should Stay Unpainted
When it comes to painting your home’s exterior, roofing materials present unique challenges. Some surfaces are better left unpainted to ensure longevity and performance. Here are the key reasons why you should think twice before painting your roof.
Heat Reflection
Roofs are designed to reflect heat, especially in hot climates. Painting over these surfaces can reduce their ability to reflect sunlight, leading to higher indoor temperatures. This can make your home less energy-efficient and increase cooling costs.
Material Compatibility
Different roofing materials, like asphalt shingles, metal, and tiles, have specific properties. Applying paint can sometimes interfere with these properties, causing issues like cracking, peeling, or even rusting in the case of metal roofs. It’s crucial to understand the compatibility of your roofing material with paint before proceeding.
Weather Exposure
Roofs are constantly exposed to the elements, from intense sunlight to heavy rain and snow. This exposure can cause painted surfaces to wear out quickly, leading to frequent maintenance. Unpainted surfaces, on the other hand, are often designed to withstand these conditions better.
For the longevity and wear of exterior spray paint finishes, it’s essential to choose the right surfaces to paint. Roofing materials often don’t make the cut due to their unique requirements and exposure to harsh weather conditions.
Historical Homes: Preserving Original Materials
Owning a historical home is a unique privilege, but it comes with its own set of challenges, especially when it comes to painting. Preserving the original materials is crucial to maintaining the home’s character and value. Here are some key considerations:
Material Sensitivity
Historical homes often feature materials that are no longer commonly used, such as elaborate ironwork or specific types of wood. These materials can be sensitive to modern paints and techniques. It’s essential to understand the properties of these materials before starting any painting project.
Historical Accuracy
When painting a historical home, it’s important to choose colors and finishes that are historically accurate. This not only preserves the home’s aesthetic but also its historical value. You may need to research the original color schemes or consult with experts to ensure you’re making the right choices.
Special Paints and Techniques
Using the right type of paint and application techniques is vital for preserving the integrity of historical materials. Specialized paints that allow the materials to breathe and techniques that minimize damage are often required. This ensures that the home remains in good condition for years to come.
Remember, historic homes can be heavily monitored, especially if they’re located in a tourist area. This means permits can be required before making any exterior changes.
Outdoor Furniture: The Challenges of Painting Moveable Items
Painting outdoor furniture can be tricky due to its exposure to the elements and the variety of materials used. Choosing the right approach is essential to ensure durability and a good finish.
Painting outdoor furniture can be tricky because these items are often moved around, making it hard for the paint to stick well. If you’re looking for tips and tricks to make your outdoor furniture look great, visit our website for expert advice and services.
Conclusion
Painting the exterior of your home can be a fun and rewarding project, but it’s important to know what surfaces to avoid. By steering clear of problematic areas like dirty, damaged, or overly moist surfaces, you can ensure your paint job lasts longer and looks better. Always check the weather and avoid painting in extreme temperatures or during wet conditions. Remember, a little preparation goes a long way in achieving a beautiful and durable finish. Happy painting!
Frequently Asked Questions
Can I paint my wooden siding without treating it first?
No, you should always treat wooden siding before painting. This helps prevent moisture problems and ensures the paint sticks well.
Why shouldn’t I paint brick walls?
Painting brick walls can trap moisture, leading to damage. Bricks need to breathe, and paint can block that.
Is it okay to paint over vinyl siding?
Painting vinyl siding can cause it to warp in the heat. It’s best to stick with the original color or replace the siding if it’s damaged.
What are the risks of painting stucco surfaces?
Stucco can crack and peel if not prepared properly. It also absorbs moisture, which can cause paint to fail.
How can I prevent rust when painting metal surfaces?
You need to prime metal surfaces with a rust-inhibiting primer before painting to prevent rust.
Why is painting concrete tricky?
Concrete is porous and holds moisture, which can cause paint to peel. Proper cleaning and sealing are essential.
Should I paint weathered wood?
Weathered wood may have structural issues. It’s important to clean it thoroughly and check for damage before painting.
Why is it important to prep previously painted surfaces?
Without proper prep, new paint won’t stick well. This can cause peeling and uneven coverage.

